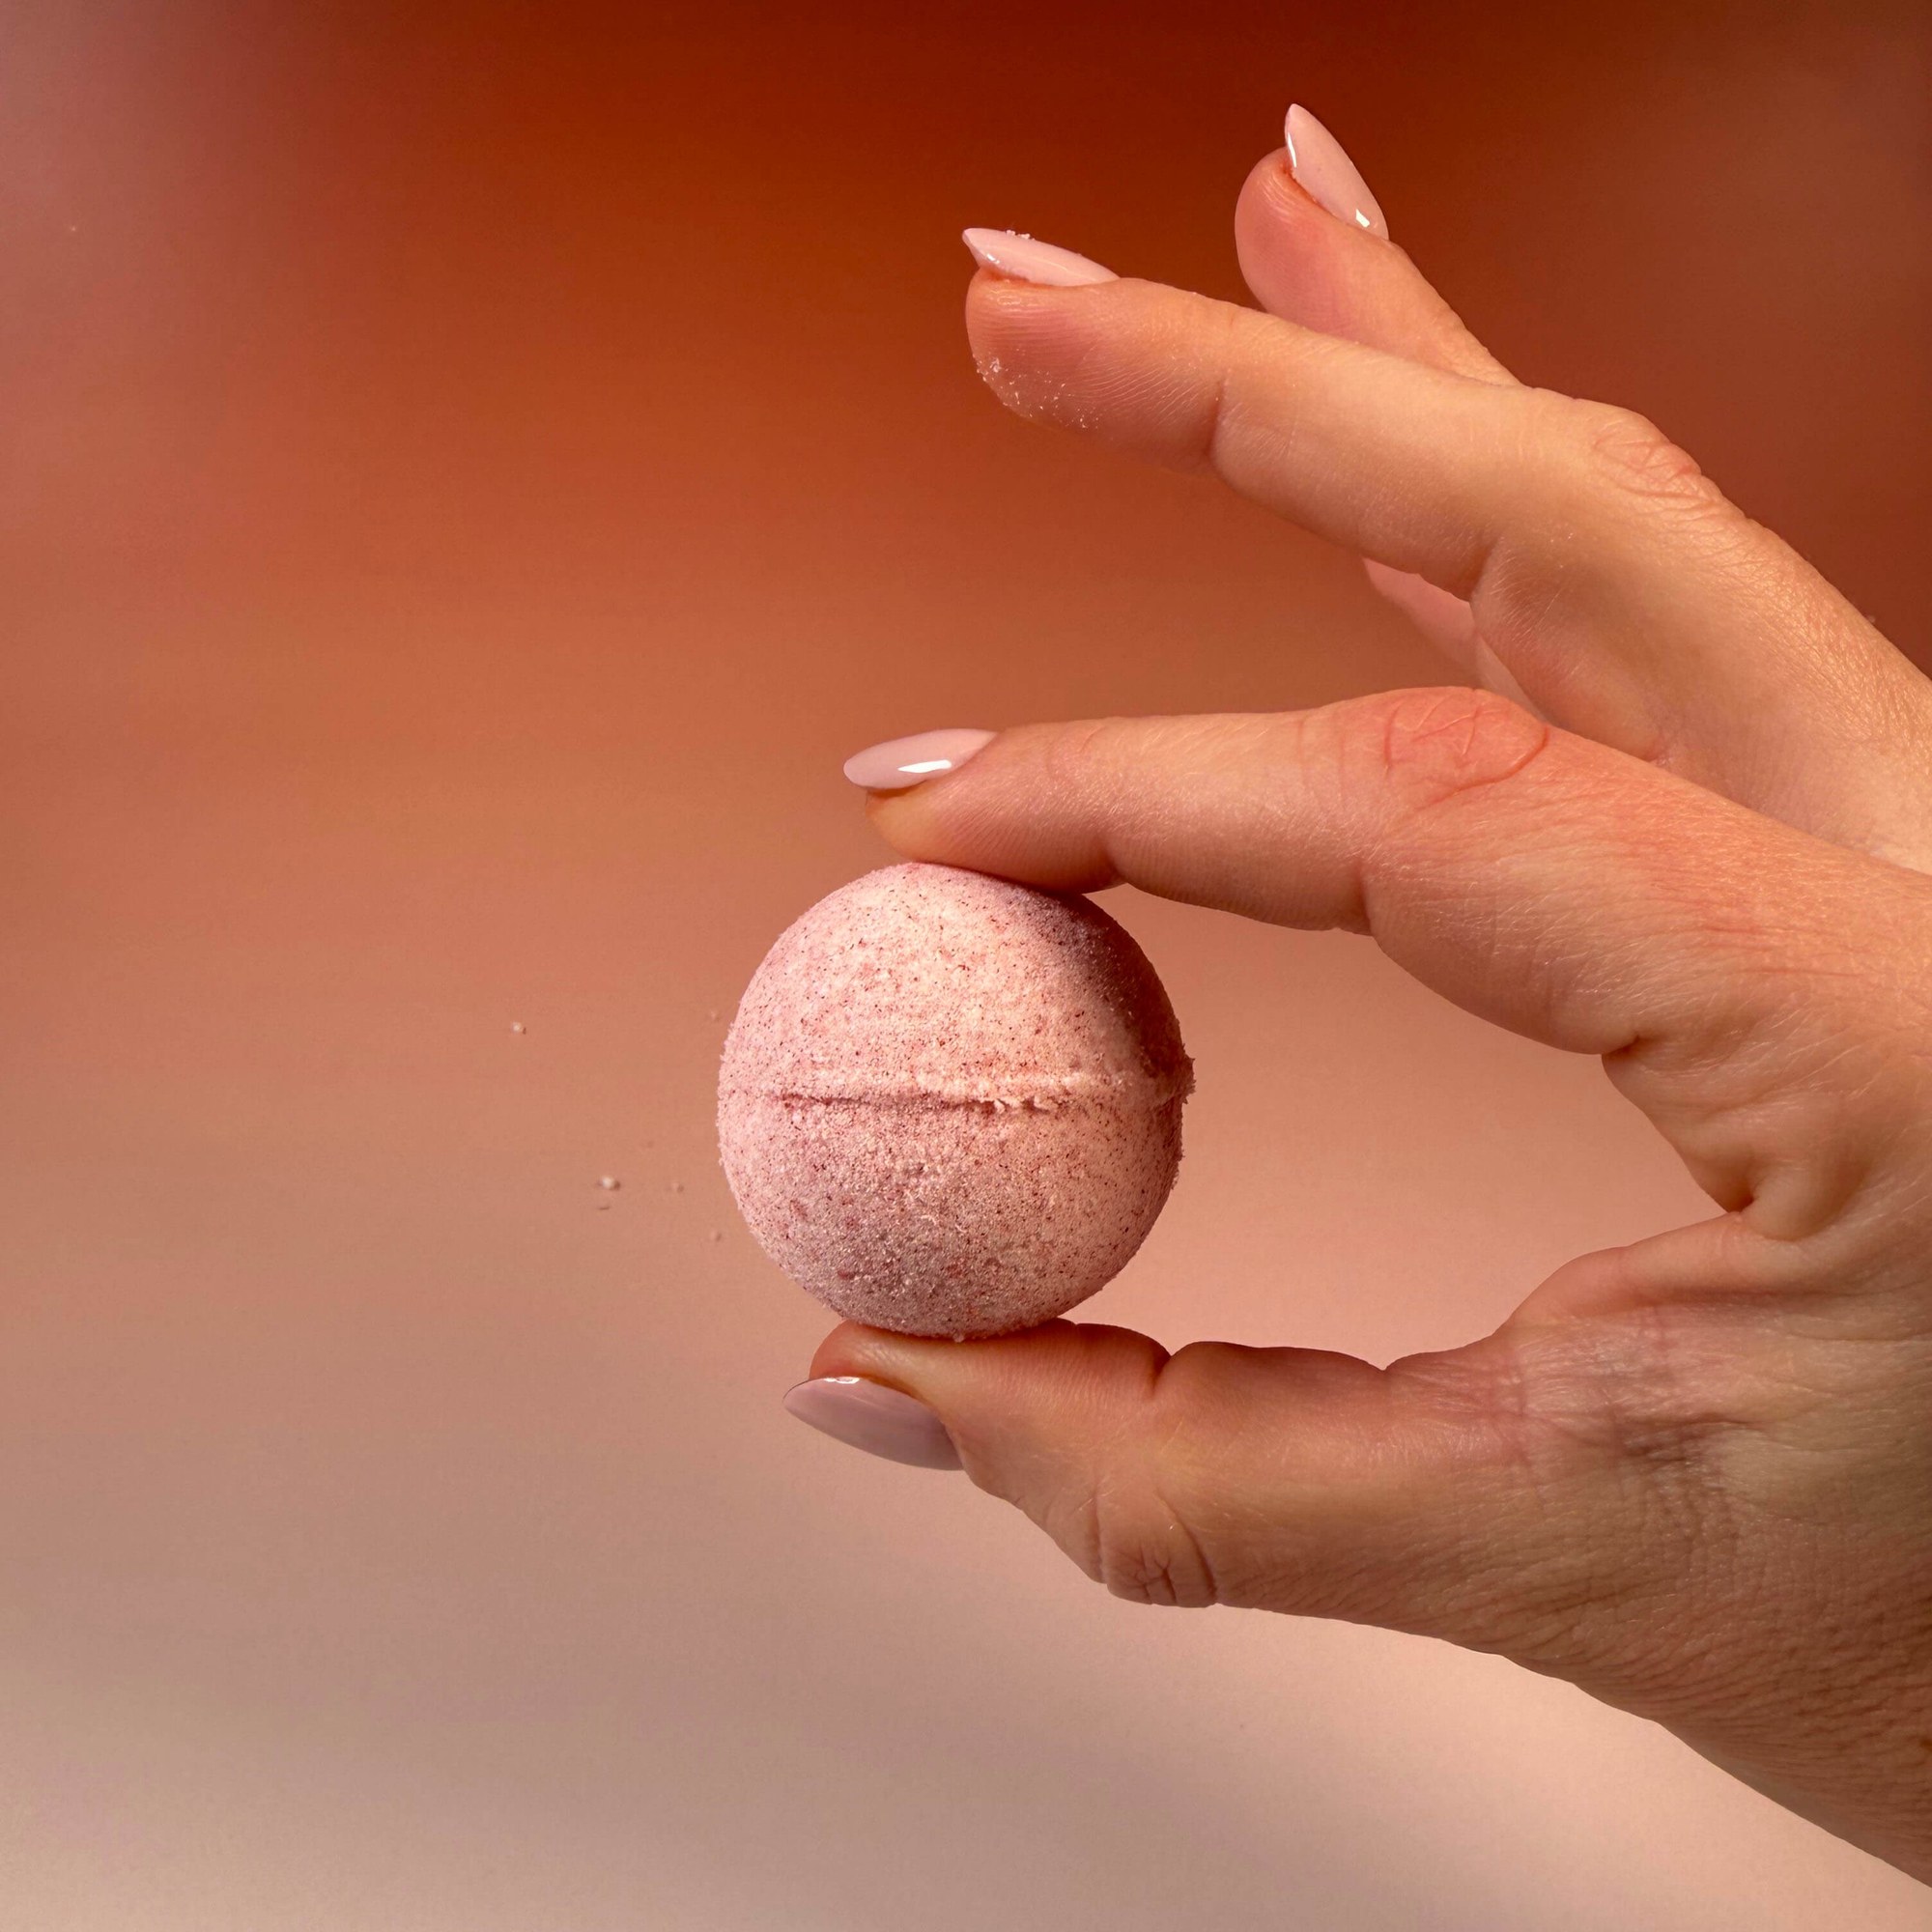

Hot process soap is made in much the same way as cold process soap — the difference being that the process takes place at an elevated temperature. After saponification, the soap immediately has the desired pH, so a shorter curing time is enough before you use it. We will go through the whole procedure step by step, from the hydroxide solution all the way to cutting the finished bars.
About this guide
The hot process soap making procedure is very similar to the cold process, with the difference that it takes place at an elevated temperature. After the saponification process, the soap immediately has the desired pH. Before its use, a shorter curing time is therefore sufficient.
A minor disadvantage is colouring, since the resulting mass is relatively thick and hardens quickly — so we cannot create such nice patterns as with the cold process.
Main benefits
- The desired pH straight away
After the saponification process, the soap immediately has the desired pH.
- Shorter curing
A shorter curing time is enough before you use the soap than with the cold process.
- The process stays under control
You follow saponification as it happens — check the mixture approximately every 15 minutes and measure the pH with pH strips.
- Fragrance and herbs right at the end
The essential oil and dried herbs are added only after the soap has been removed from the heat source, once it is at a lower temperature than the evaporation temperature of the given oil.
- Readily available raw materials
Demineralised water and sodium hydroxide can be bought in a regular drugstore; besides these you need olive, coconut and castor oil, an essential oil and dried lavender.
Product properties
What we will need
Prepare all the necessary raw materials, in our case demineralised water and sodium hydroxide (both raw materials can be purchased in a regular drugstore), olive oil, coconut oil, castor oil, essential oil — lavender, dried lavender, pH strips, a thermometer and protective equipment — gloves, face mask, goggles.
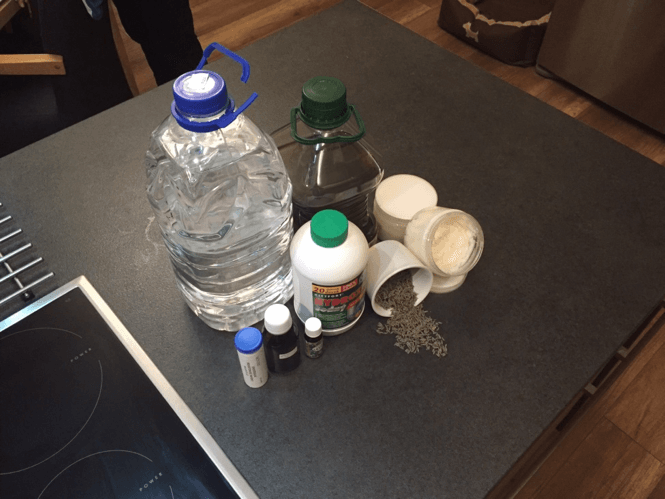
Sodium hydroxide and demineralised water
The sodium hydroxide solution is the first thing we prepare. Pour the sodium hydroxide into the demineralised water — never the other way round — and let the resulting solution cool to approx. 35 °C, as it has a high temperature.
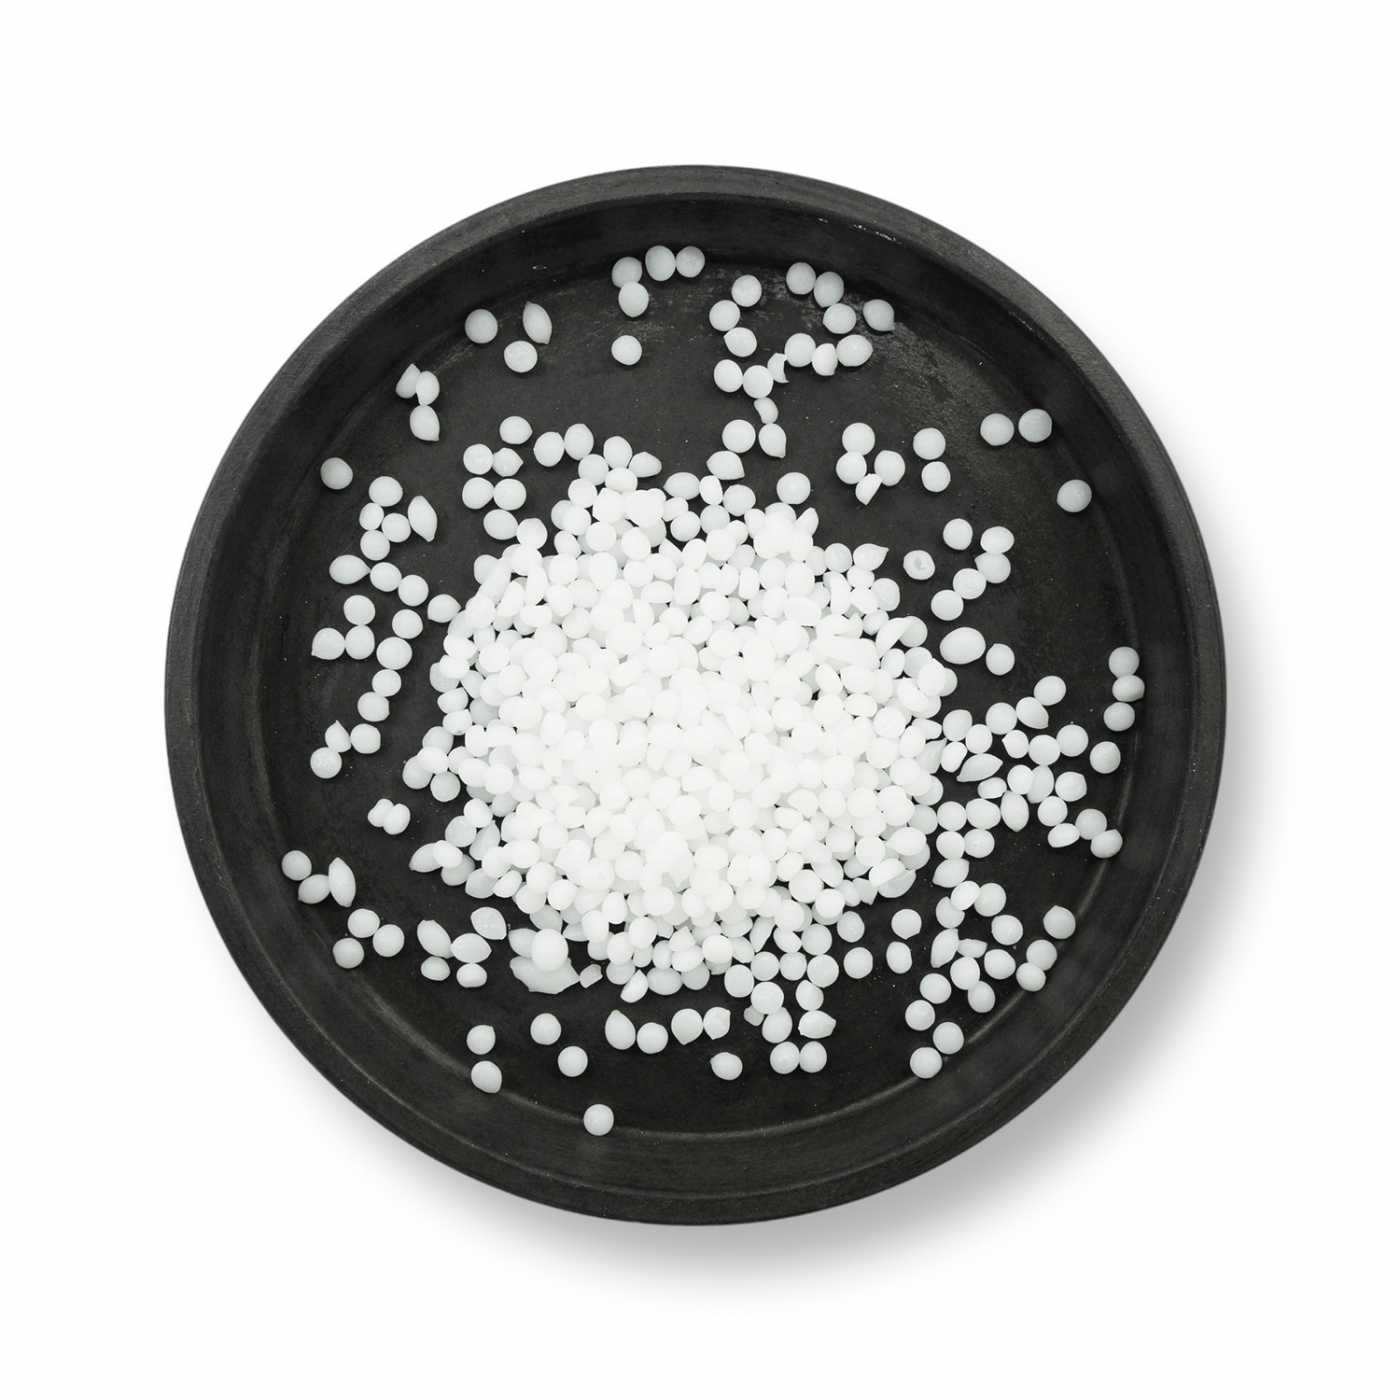
The oil blend
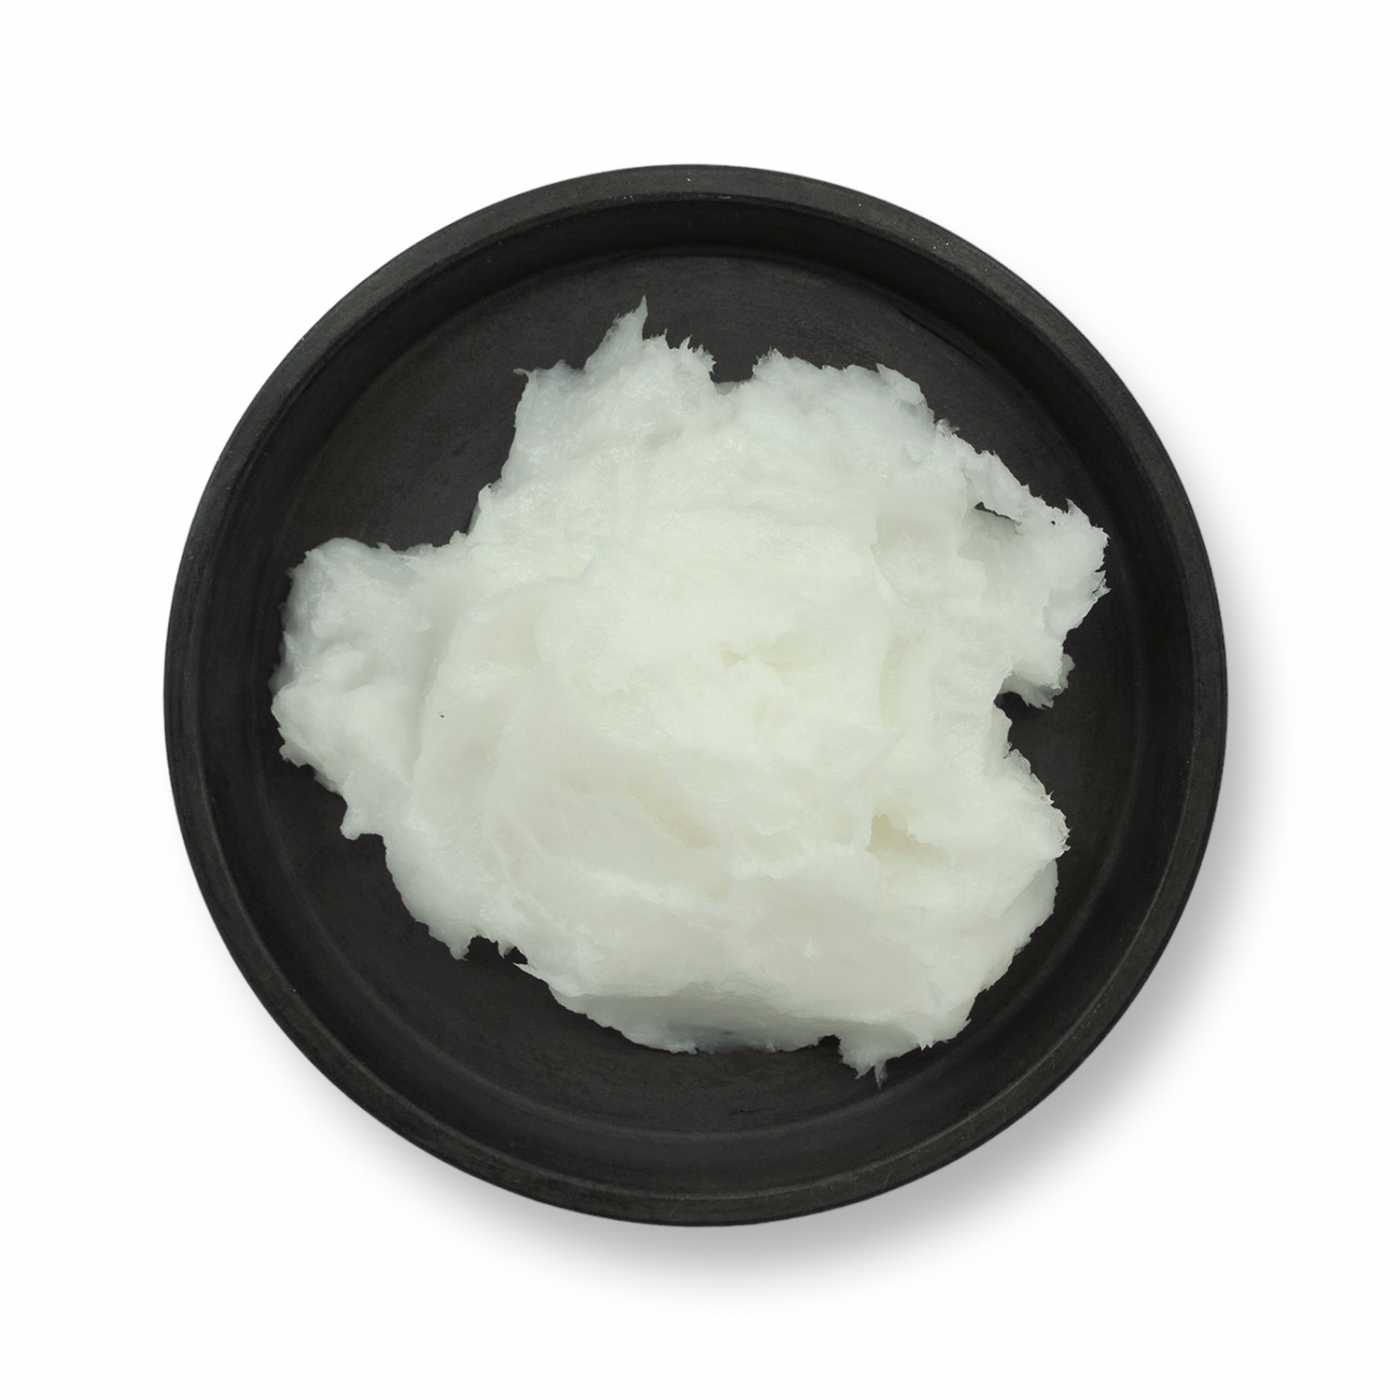
While the hydroxide is cooling, prepare the oil blend. Weigh out the required amount of olive oil and add the coconut and castor oil. Use a container suitable for a water bath — in our case a metal bowl.
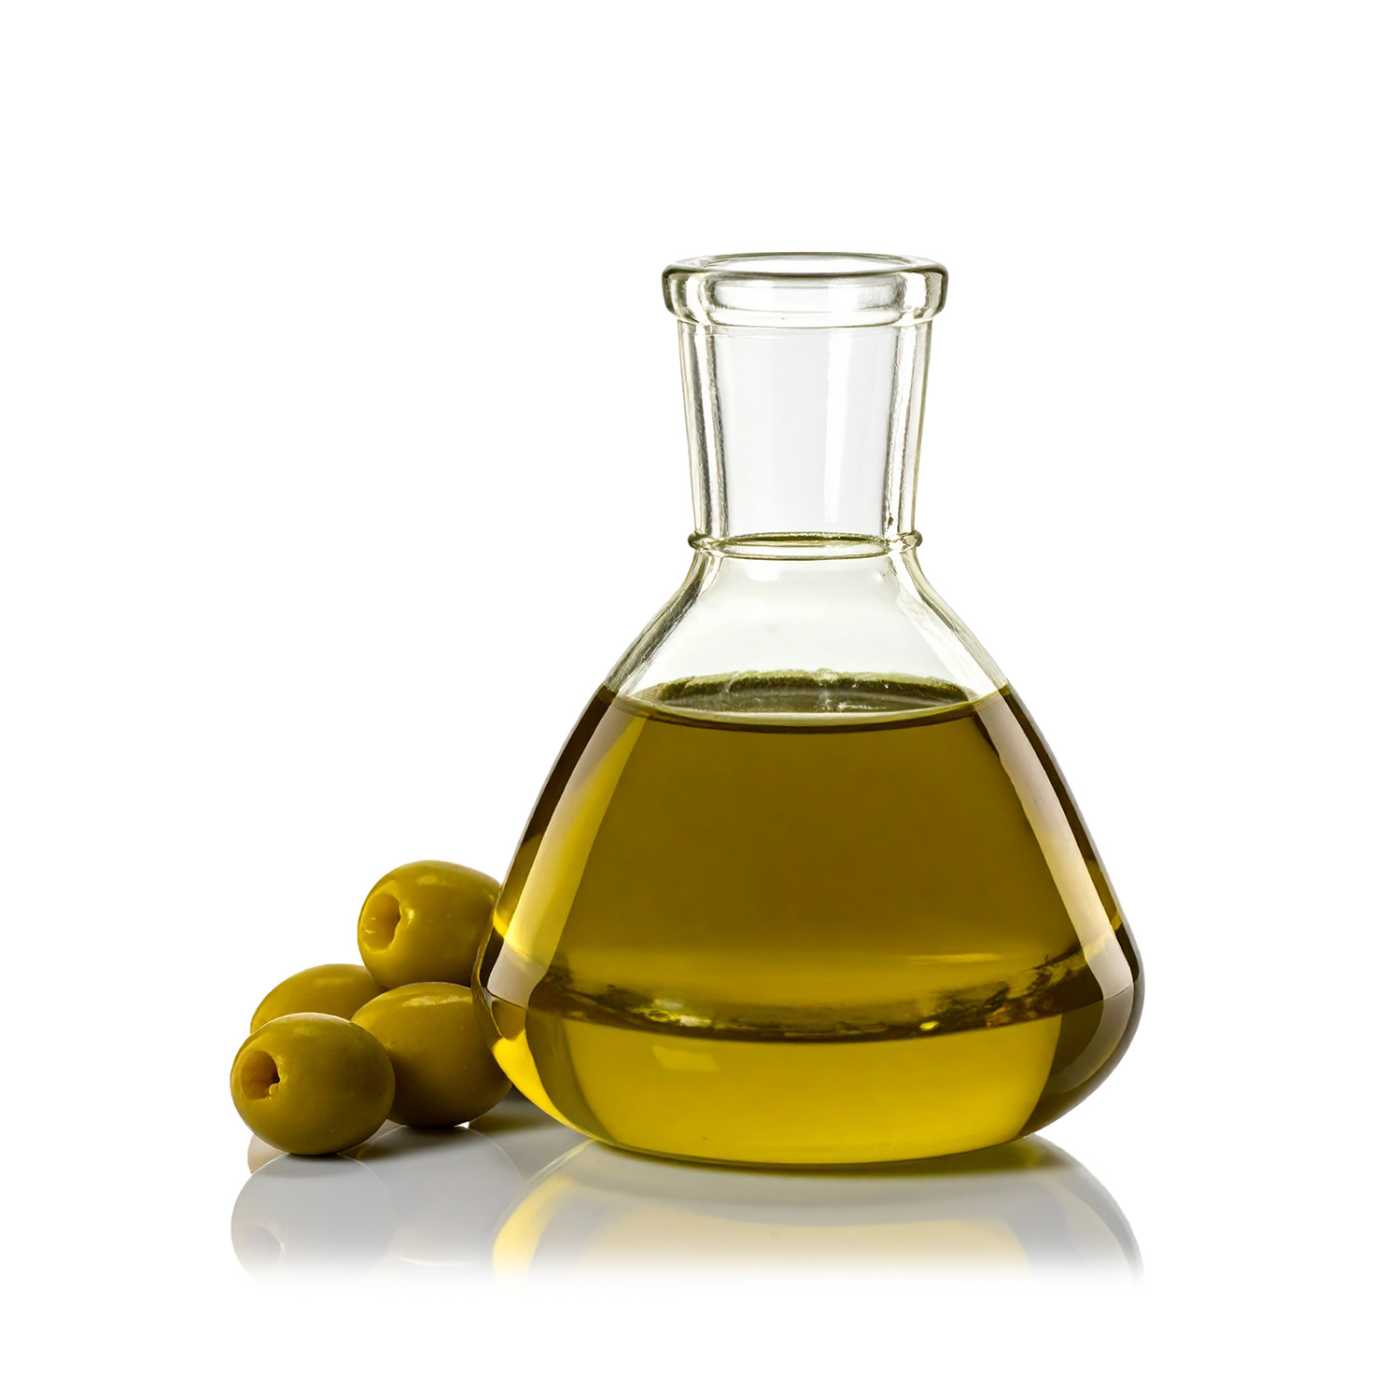
Add coconut oil and castor oil to the olive oil. Place the weighed oils in a water bath and allow the solid oils to melt. The oils should reach the same temperature as the hydroxide solution.
Fragrance and decoration
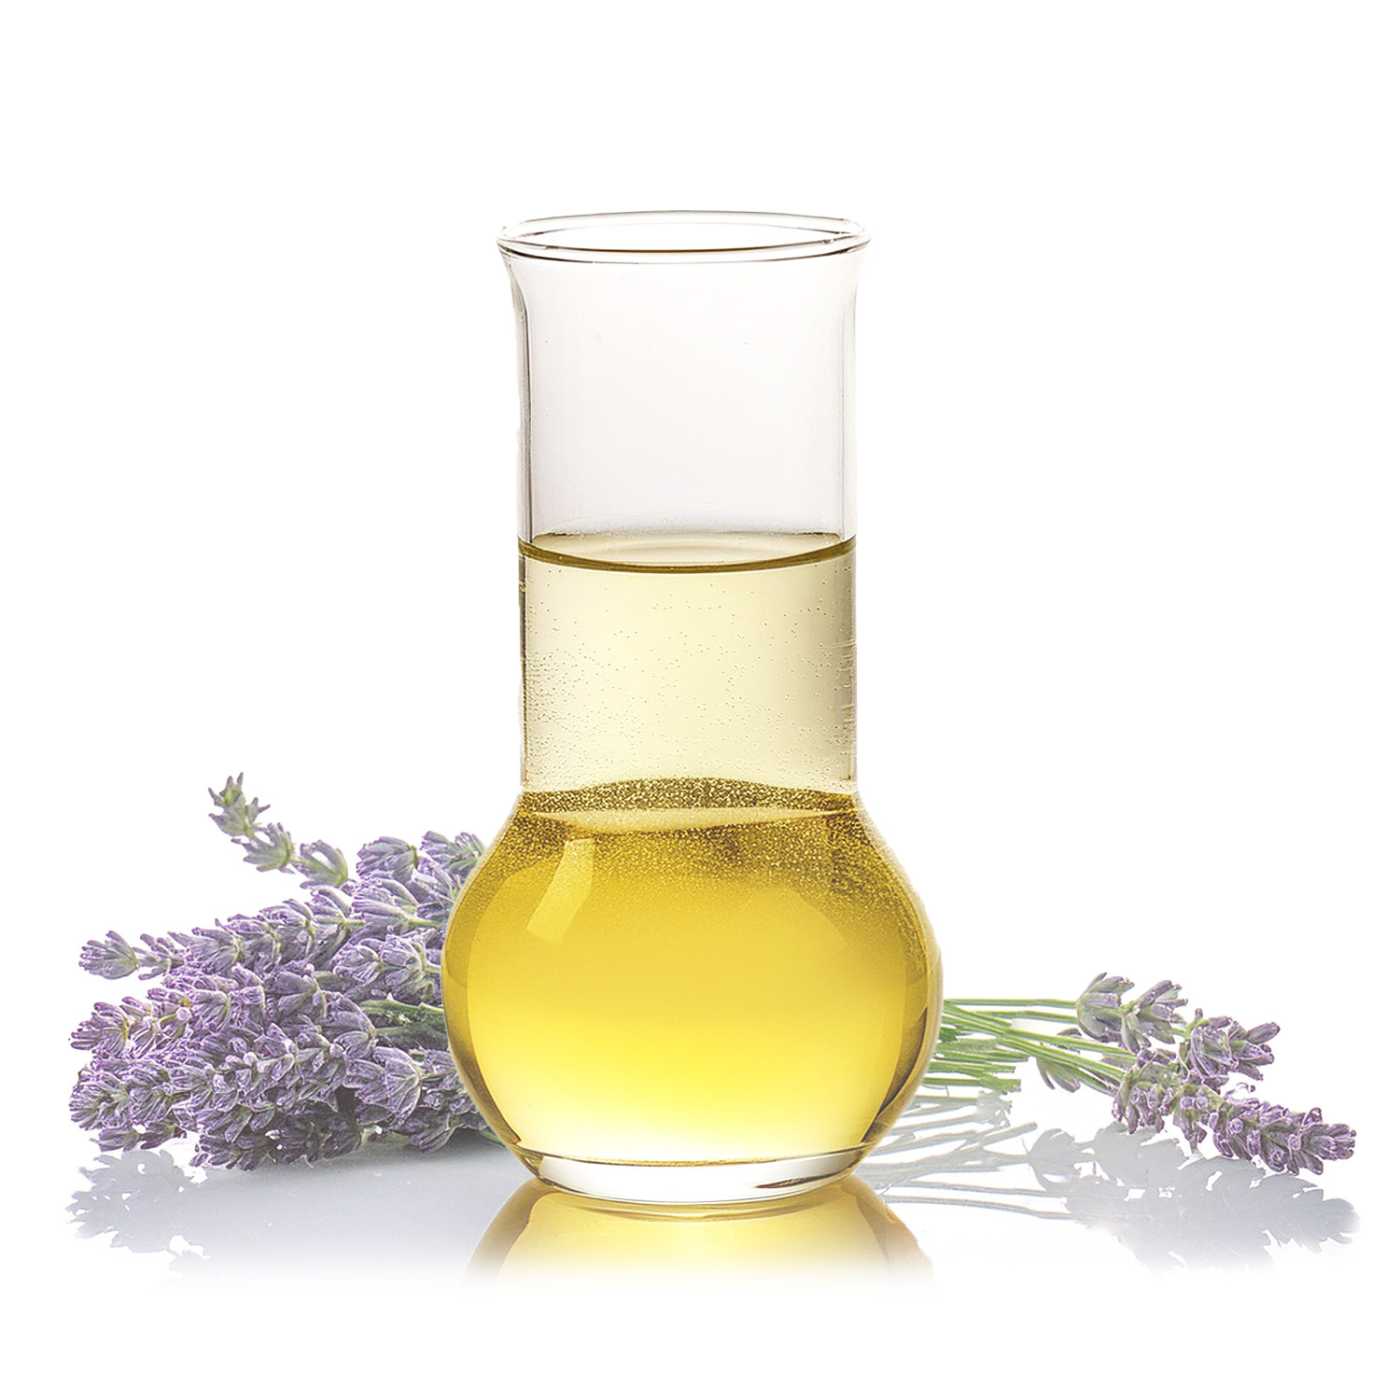
Once saponification is complete and the soap has been removed from the heat source, it is time to add the essential oils — in our case lavender — and the dried herbs. Essential oils have different evaporation temperatures, so it is important that the soap has a lower temperature than the evaporation temperature of the given essential oil. For decoration we used dried lavender flowers.
Measuring the pH and protective equipment
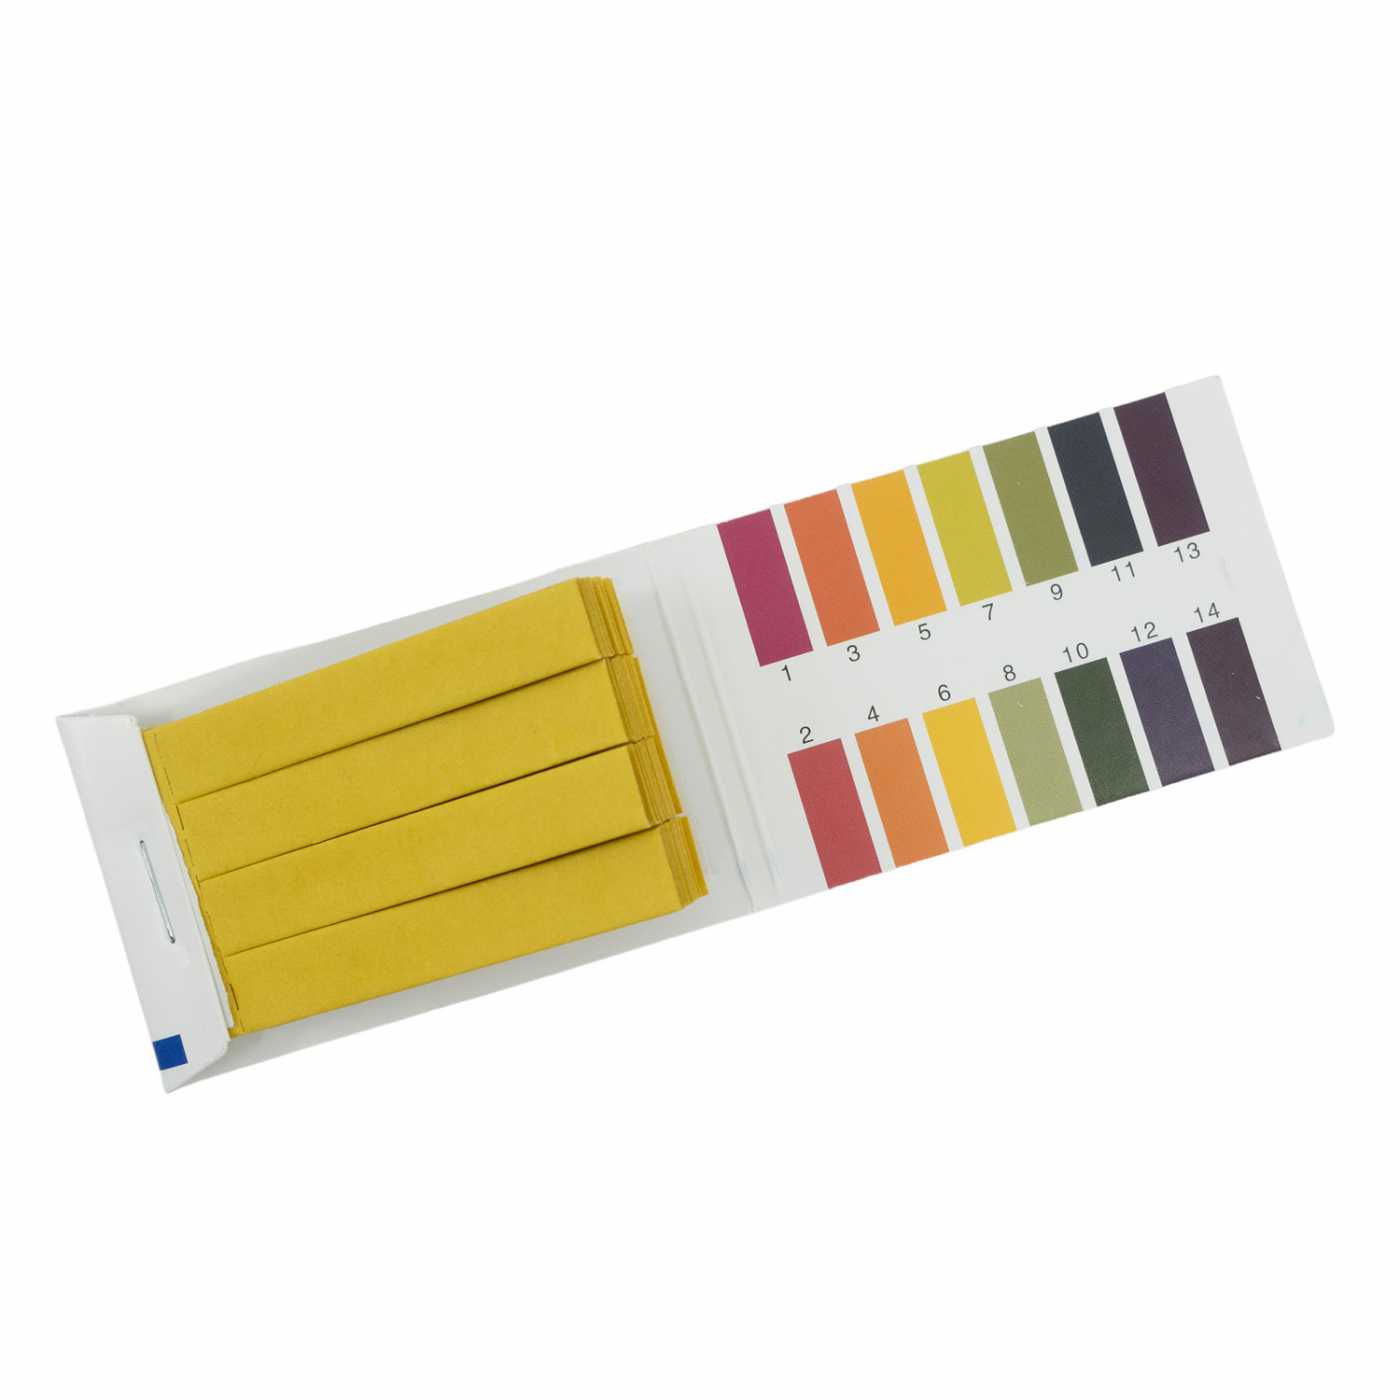
Allow the saponification process to continue until the pH of the mixture is approx. 8 — which is why pH strips are an essential tool. Besides these, have a thermometer and protective equipment ready: gloves, a face mask and goggles.
Safety when working with hydroxide
Before production, put on the protective equipment — gloves, face mask and goggles. Prepare the hydroxide solution in the sink.
ALWAYS POUR THE HYDROXIDE INTO THE WATER, NOT THE OTHER WAY ROUND. Stir the hydroxide, do not inhale the fumes. It is best to prepare the solution in a ventilated area, or by an open window.
The resulting hydroxide solution has a high temperature, so let it cool to approx. 35 °C.
The procedure
Preparing the raw materials and the hydroxide solution
- Preparing the raw materials
Prepare all the necessary raw materials: demineralised water and sodium hydroxide, olive oil, coconut oil, castor oil, essential oil — lavender, dried lavender, pH strips, a thermometer and protective equipment — gloves, face mask, goggles.
- Protective equipment and water
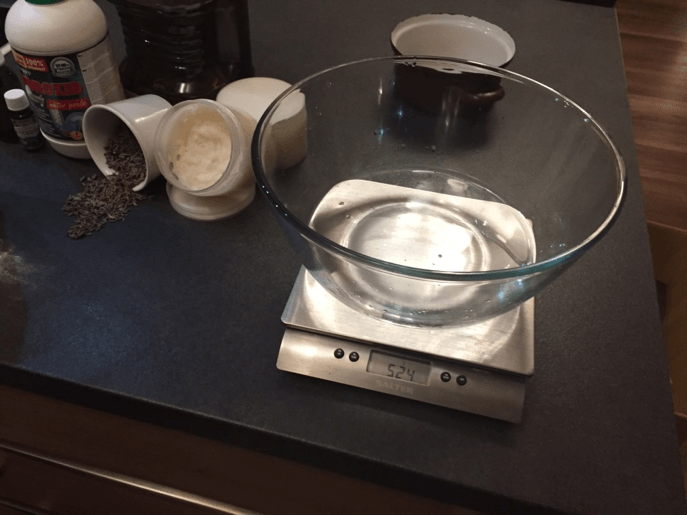
Before production, put on the protective equipment. First, prepare the sodium hydroxide solution — weigh out the required amount of demineralised water.
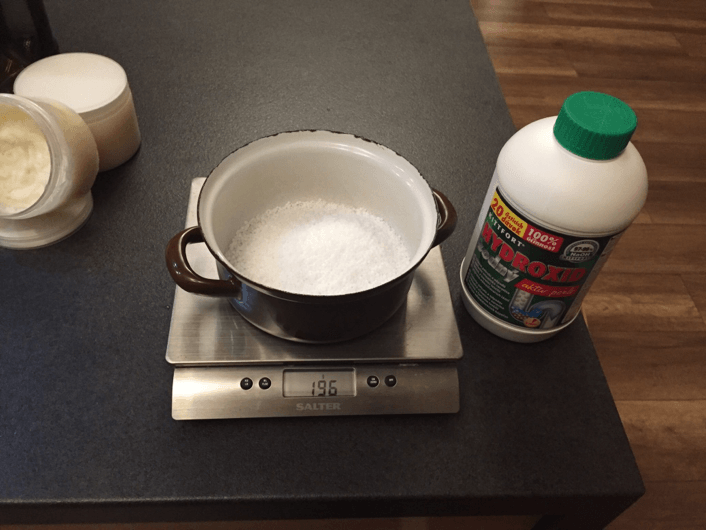
- Weighing out the hydroxide
In another container, weigh out the required amount of sodium hydroxide.
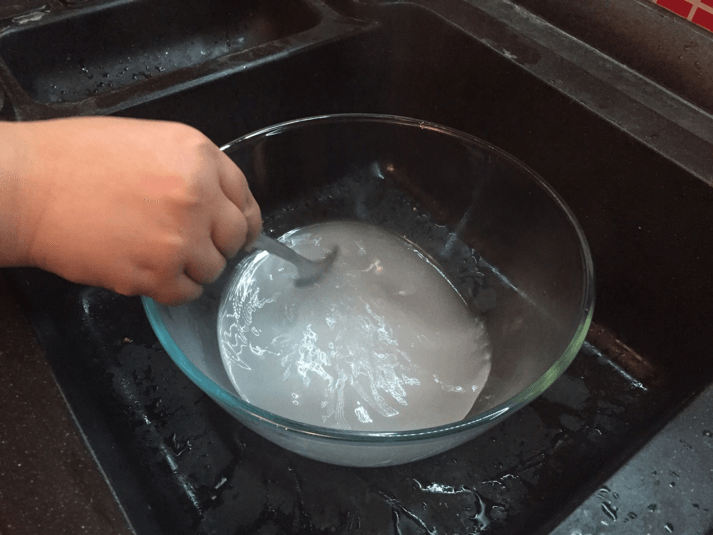
- The hydroxide solution approx. 35 °C
In the sink, pour the hydroxide into the demineralised water. Note, ALWAYS POUR THE HYDROXIDE INTO THE WATER, NOT THE OTHER WAY ROUND. Stir the hydroxide, do not inhale the fumes. It is best to prepare the solution in a ventilated area, or by an open window. The resulting hydroxide solution has a high temperature, so let it cool to approx. 35 °C.
The oil blend and combining it with the hydroxide
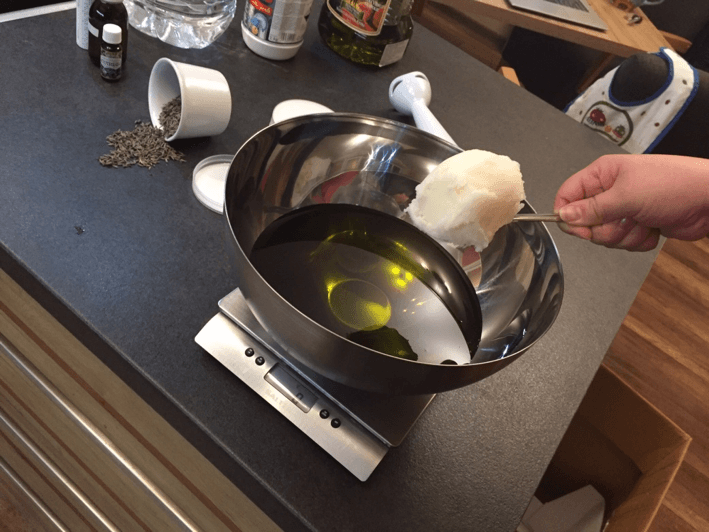
- The oil blend
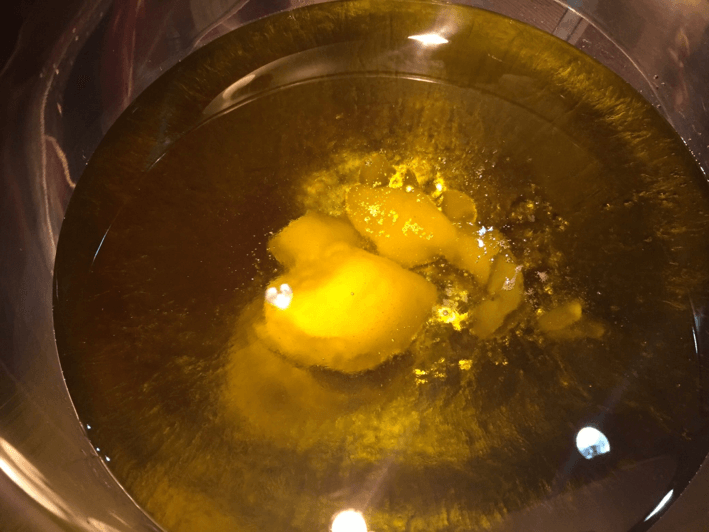
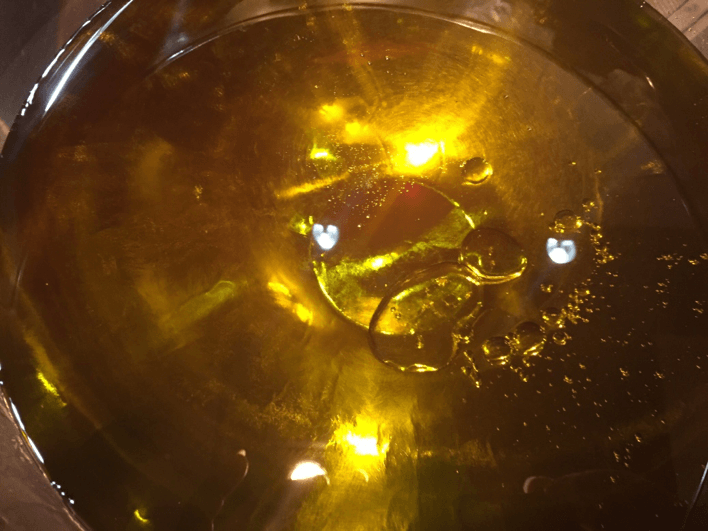
While the hydroxide is cooling, prepare the oil blend. Weigh out the required amount of olive oil, add the coconut and castor oil. Use a container suitable for a water bath (in our case a metal bowl).
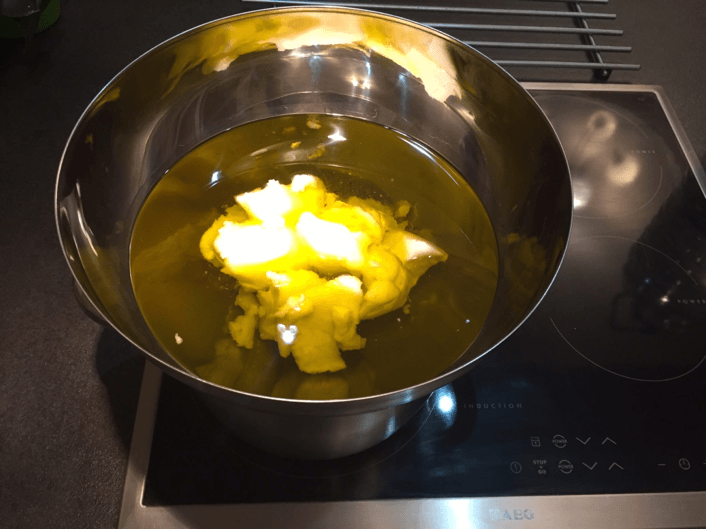
- Melting in the water bath
Place the weighed oils in a water bath, allow the solid oils to melt. The oils should reach the same temperature as the hydroxide solution.
- Pouring in the solution
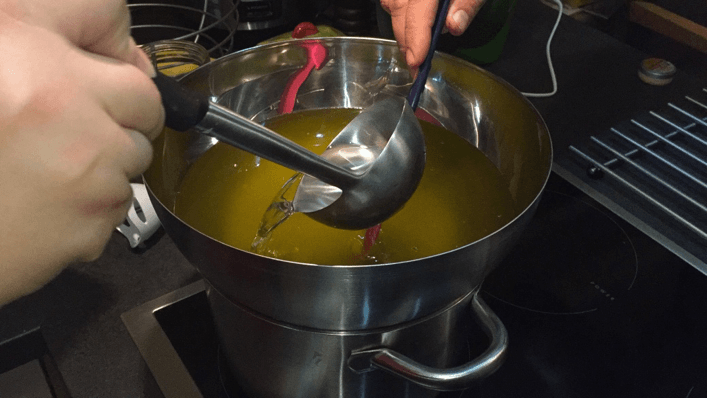
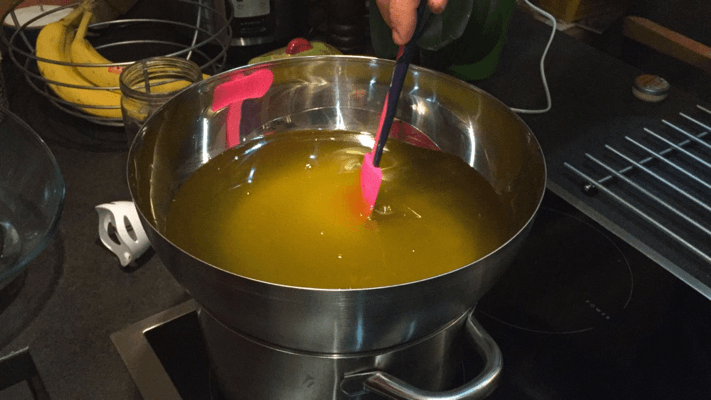
Slowly pour the hydroxide solution into the oil blend, which we first stir with a spatula.
- Blending to trace
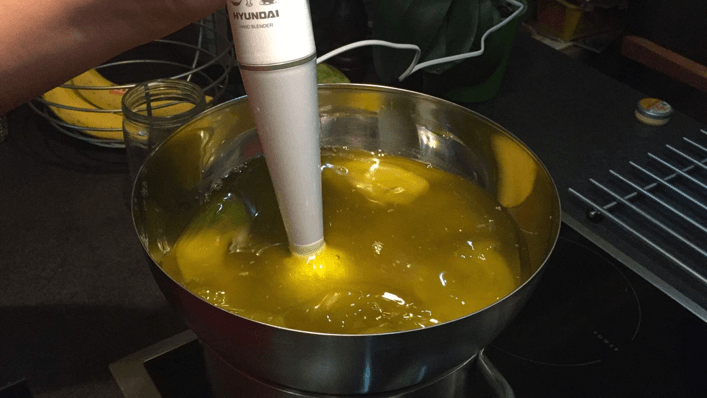
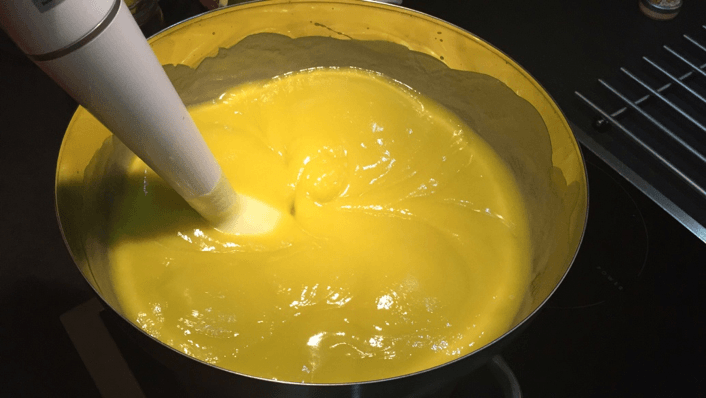
When the oils are mixed with the hydroxide, use an immersion blender to bring them together. Blend until “trace” appears.
Saponification and pH control
- The mixture in the water bath
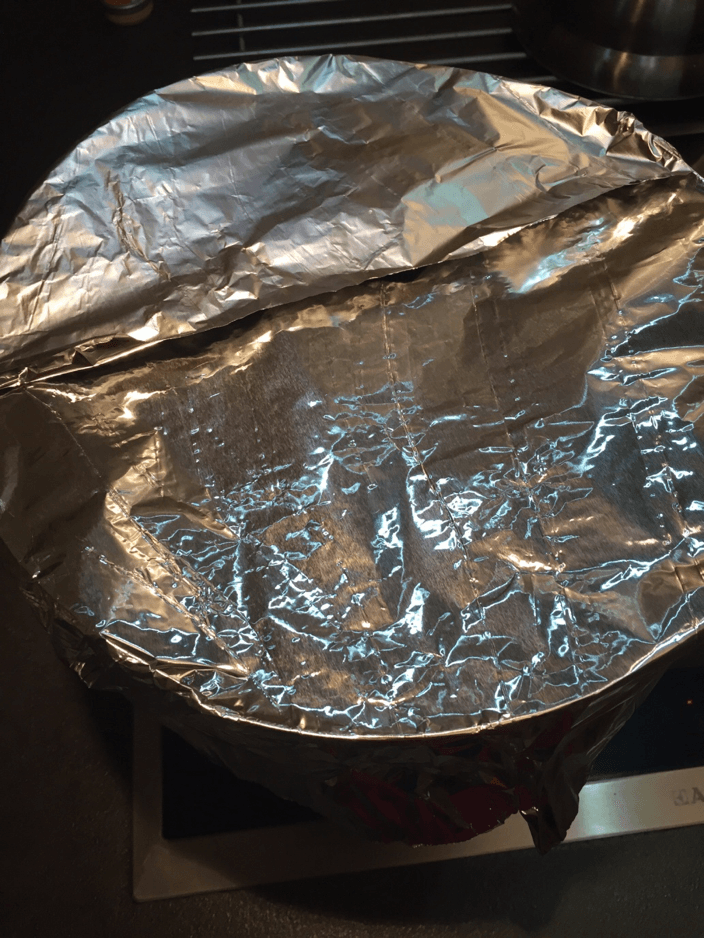
Cover the mixture at trace with aluminium foil and leave it in the water bath over low heat.
- Ongoing checks every 15 minutes
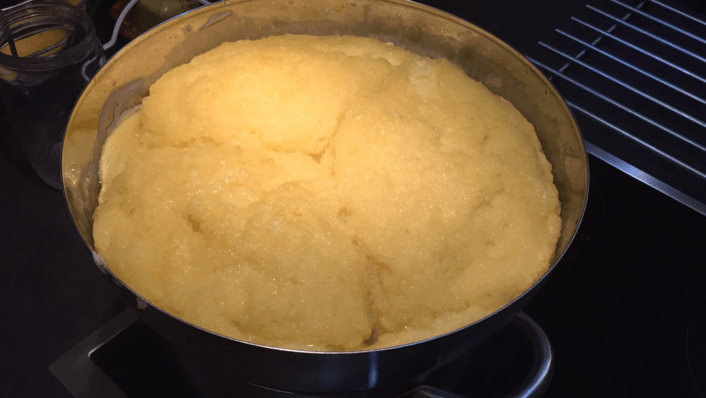
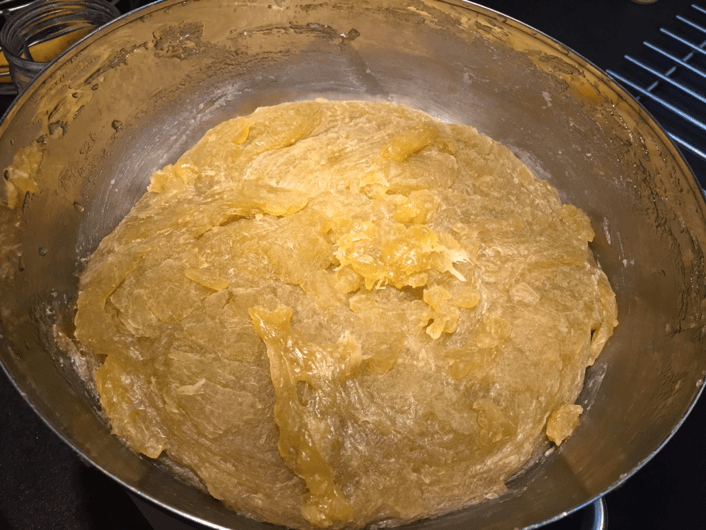
Check the mixture continuously, approximately every 15 minutes. The saponification process gradually takes place. Stir the soap so that it does not boil over.
- Measuring the pH pH approx. 8
Gradually the entire mixture saponifies — the soap is almost finished. Allow the saponification process to continue until the pH of the mixture is approx. 8. Measure the pH by taking a small amount of the mixture, dipping a pH strip into it and comparing it with the scale on the pH strip packaging.
Fragrance, mould and curing
- Essential oil and herbs
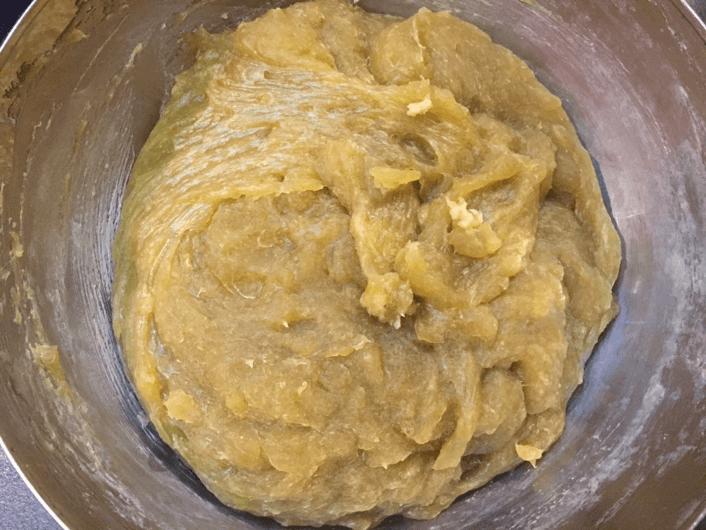
When the saponification process is complete, remove the soap from the heat source. Next comes the addition of essential oils and, in our case, also dried herbs. Essential oils have different evaporation temperatures, so it is important that the soap has a lower temperature than the evaporation temperature of the given essential oil. Add the essential oil and the dried herbs.
- Pouring into the mould 24 hours
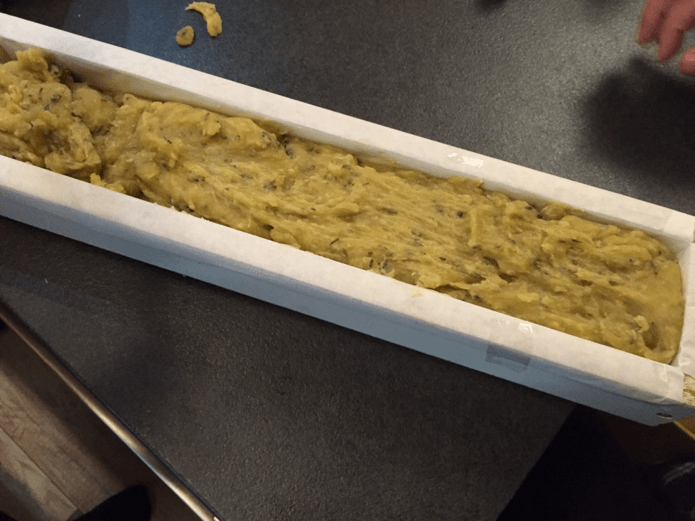
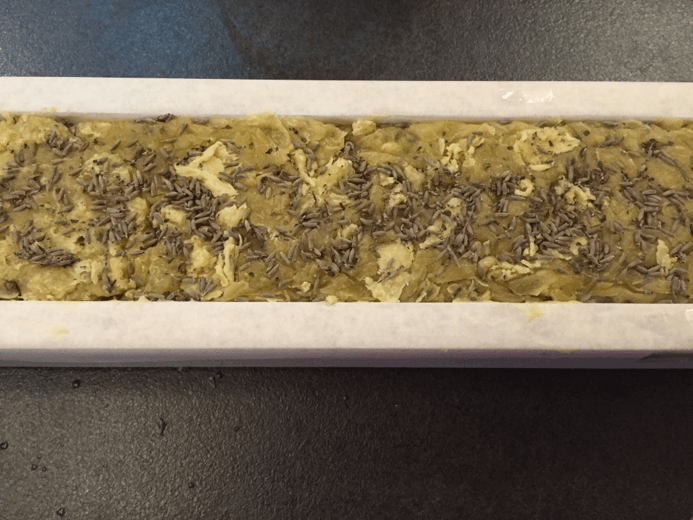
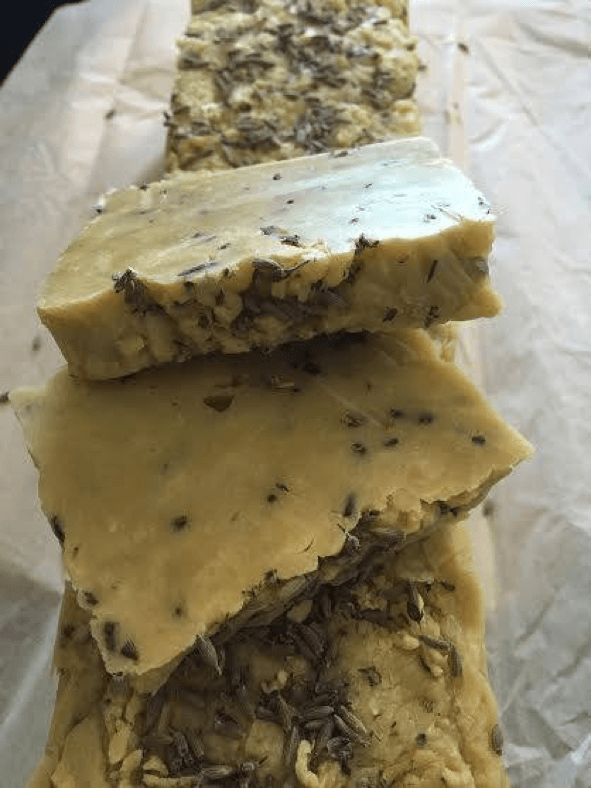
Pour the prepared soap into a mould lined with baking paper; for decoration we used dried lavender flowers. Cover the finished soap and leave it to rest for 24 hours.
- Cutting and drying about 2 weeks
After 24 hours, remove the soap from the mould and cut it into the desired pieces. Leave the prepared soap to dry for about another 2 weeks so that the residual water can evaporate.
Frequently asked questions about hot process soap
Practical questions about the hot process — how it differs from the cold process, pH, preparing the hydroxide solution and curing the soap.
How does the hot process differ from the cold process?
It is very similar to it, with the difference that it takes place at an elevated temperature. After the saponification process, the soap immediately has the desired pH, so a shorter curing time is sufficient before use.
Why are patterns harder to make in hot process soap?
A minor disadvantage is colouring: the resulting mass is relatively thick and hardens quickly, so we cannot create such nice patterns as with the cold process.
How do you prepare the hydroxide solution correctly?
In the sink, pour the hydroxide into the demineralised water — always pour the hydroxide into the water, not the other way round. Stir the hydroxide, do not inhale the fumes and prepare the solution in a ventilated area, or by an open window. The resulting solution has a high temperature, so let it cool to approx. 35 °C.
At what pH is the soap finished?
Allow the saponification process to continue until the pH of the mixture is approx. 8. Measure the pH by taking a small amount of the mixture, dipping a pH strip into it and comparing it with the scale on the pH strip packaging.
When should you add the essential oil?
Only once the saponification process is complete and the soap has been removed from the heat source. Essential oils have different evaporation temperatures, so it is important that the soap has a lower temperature than the evaporation temperature of the given essential oil.
How long does the soap cure?
Cover the finished soap and leave it to rest in the mould for 24 hours. Then remove it, cut it into the desired pieces and leave it to dry for about another 2 weeks so that the residual water can evaporate.
You will find the oils, sodium hydroxide, essential oils, dried herbs and pH strips from this guide in the Handymade range.