Vegan waxes instead of beeswax
With the growing interest in vegan cosmetics, recipe makers are replacing classic beeswax in their formulations with vegan alternatives.
The most popular of these recently has been soy wax for candle making and its blend with coconut wax. However, it is not the only wax that is nourishing and will adequately replace beeswax for you.
In this article we will discuss: the breakdown of vegan waxes and hydrogenated vegan waxes and specific examples of such waxes, more detailed characteristics of the individual types of the most popular soy wax, the procedure for making a natural soy candle, tips and tricks for soy candle making, and the most common mistakes in soy candle making.
How are vegan waxes made and which ones are they?
Vegan waxes come from the leaves, skins or fruits of plants, or are obtained by so-called dewaxing from vegetable oils. The dewaxing process removes the wax by cooling, pressing or solvent treatment. It is therefore a physical separation and no chemical reactions are induced.
Tip: you can tell whether something is a wax by its INCI name, which should include the terms ‘cera’ or ‘wax’.
The function of a wax is also performed by vegan waxes that are created by hydrogenation of oil — we cover those in the second group below.
Candelilla wax
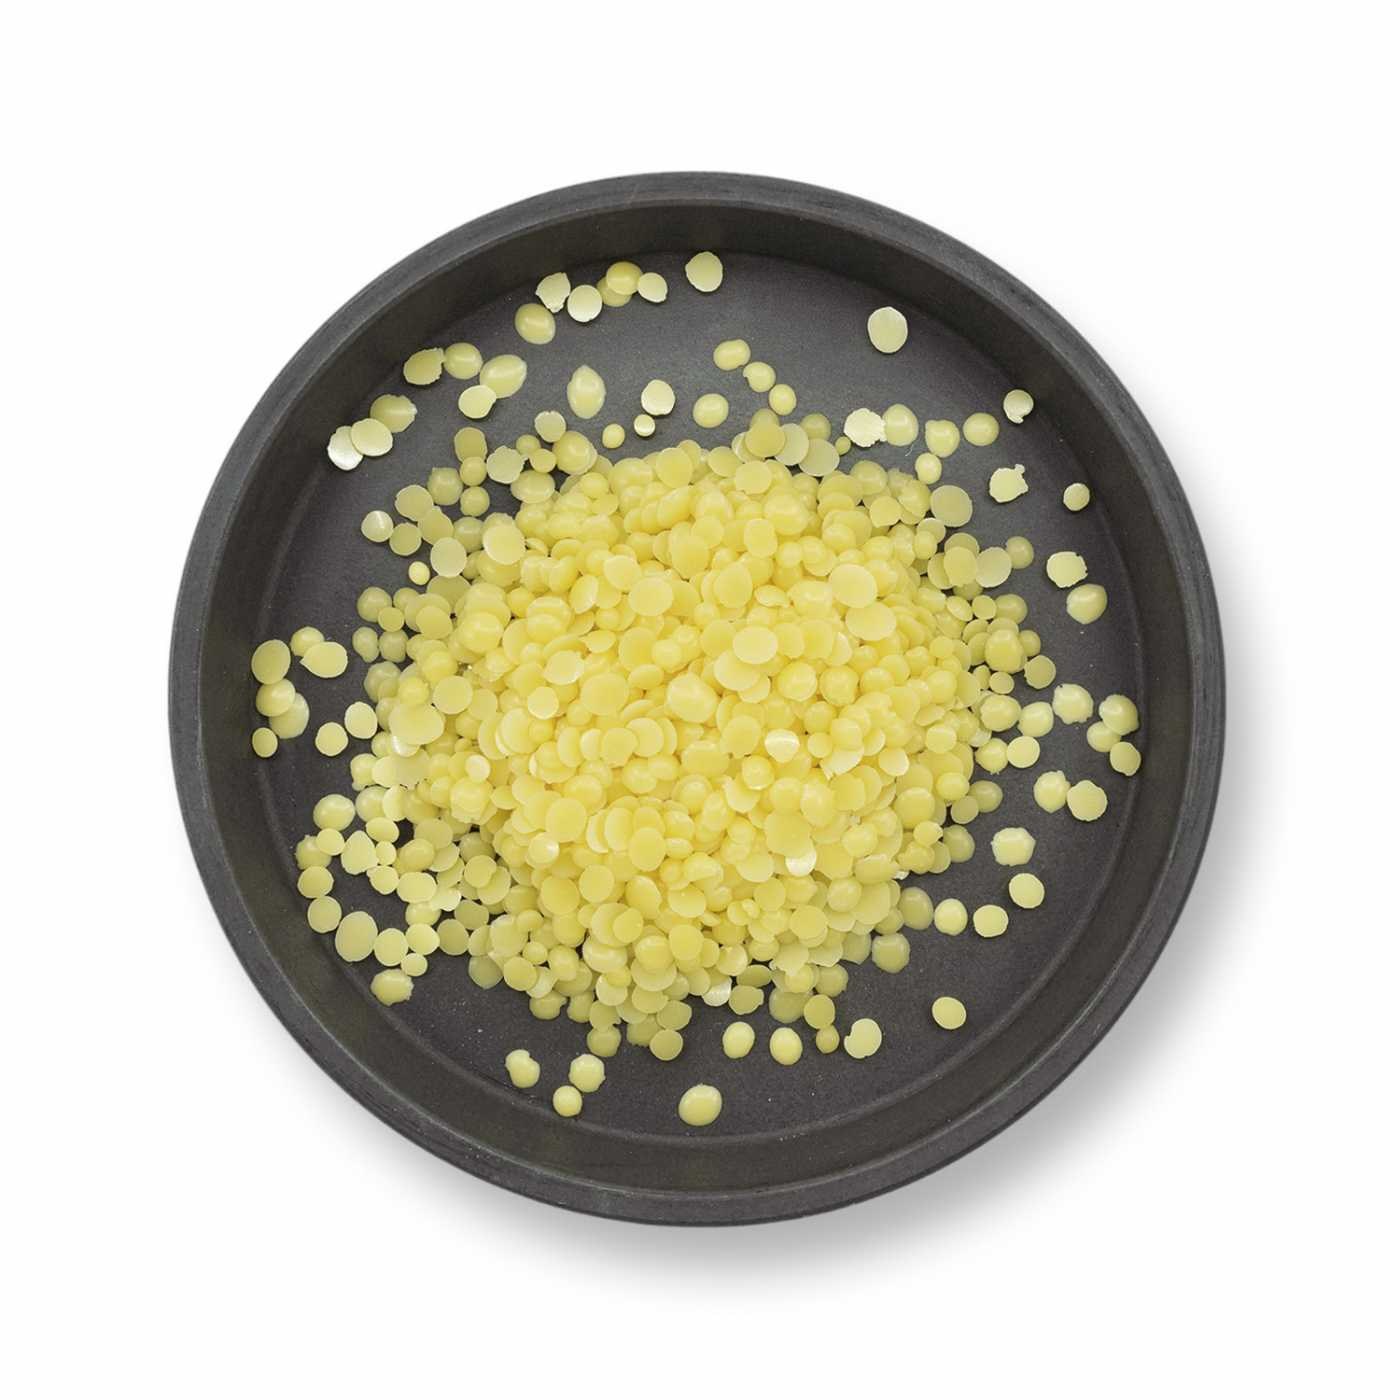
This wax is considered the best vegan alternative to beeswax. It has a very decent smell and acts as a waterproofing agent, preventing the skin from losing moisture.
It is used to increase viscosity in W/O (water-in-oil) emulsions. It adds shine and hardness to cosmetic products. It is added to hair waxes, lipsticks, mascaras, and face, hand or foot creams. It is therefore an excellent stabiliser, thickener, softener, emulsifier and nourishing conditioner. And of course, you can use it to make candles.
Carnauba wax
This wax is also called the Queen of Waxes and is one of the hardest natural waxes.
The exceptionally high melting point of carnauba wax increases the thermostability of cosmetic preparations, which thanks to it retain their physical or molecular composition when exposed to high heat.
Its emulsifying, thickening, softening and emollient properties make it a popular hypoallergenic additive in cosmetic preparations such as skin creams, deodorants, various categories of make-up and sun protection products. That makes it a popular ingredient in hair products such as styling waxes, as well as in ointments that have to remain on the skin for a long time in order to facilitate wound healing. It is also an excellent depilatory agent.
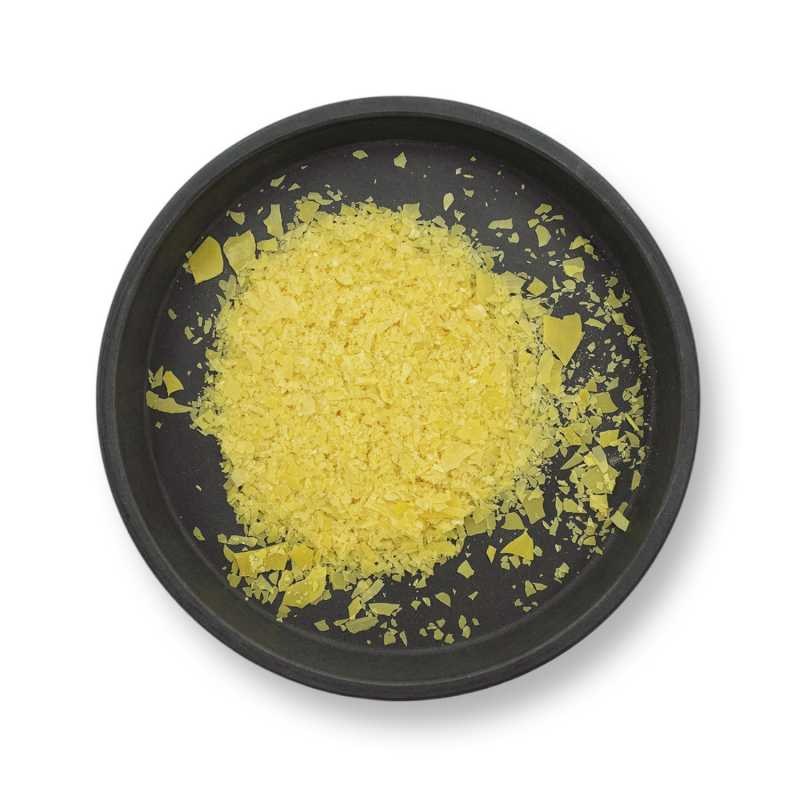
Rice wax
Yes, wax can be made from rice too. It is obtained by dewaxing virgin rice bran oil and is a substitute for candelilla wax.
It is used in skin and hair care, acting as a thickener, binder, plasticiser and gelling agent. In balms and lipsticks it provides hardness, good texture and strength. It can be combined with most vegetable waxes and oils.
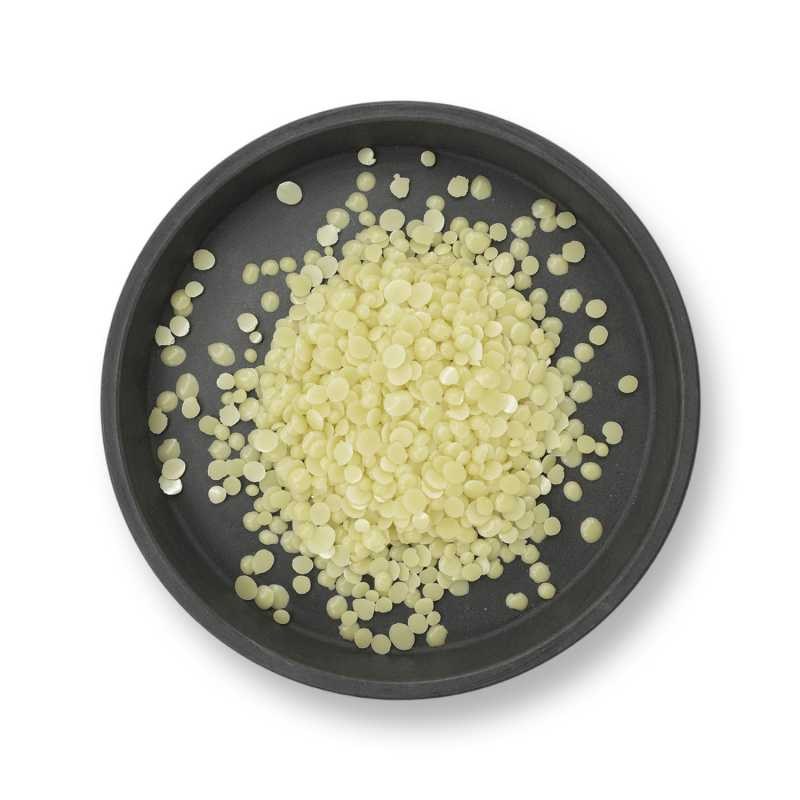
Hydrogenated waxes
The second group are vegan waxes created by the process of hydrogenation. Hydrogenation is in fact the process by which all or only some of the unsaturated fats are converted into a saturated form.
In short, in practice this works as follows: vegetable oil is heated in a pressure vessel to approximately 160 °C, a catalyst such as nickel is added and then hydrogen gas; their reaction raises the temperature to 200–230 °C and forms an emulsion, which is then cooled with cold water, and further processes remove the nickel and hydrogen gas.
Tip: you do not have to remember this complicated process. It is enough if you can identify which wax it is from its INCI name — waxes obtained by hydrogenation have ‘Hydrogenated Vegetable oil’ in their INCI description.
A common characteristic of hydrogenated waxes is their significantly lower melting point and softness compared with the first group.
Jojoba wax
This is hydrogenated jojoba oil, which itself is very nourishing. Like the oil, the wax obtained from it contains a number of minerals, fatty acids and vitamins that nourish the skin, whether dry, problematic or acne-prone.
You can use it as an ingredient in soaps, emulsions, creams and balms, or even to make mascaras. You can also use it in candles (including as a blend with another wax).
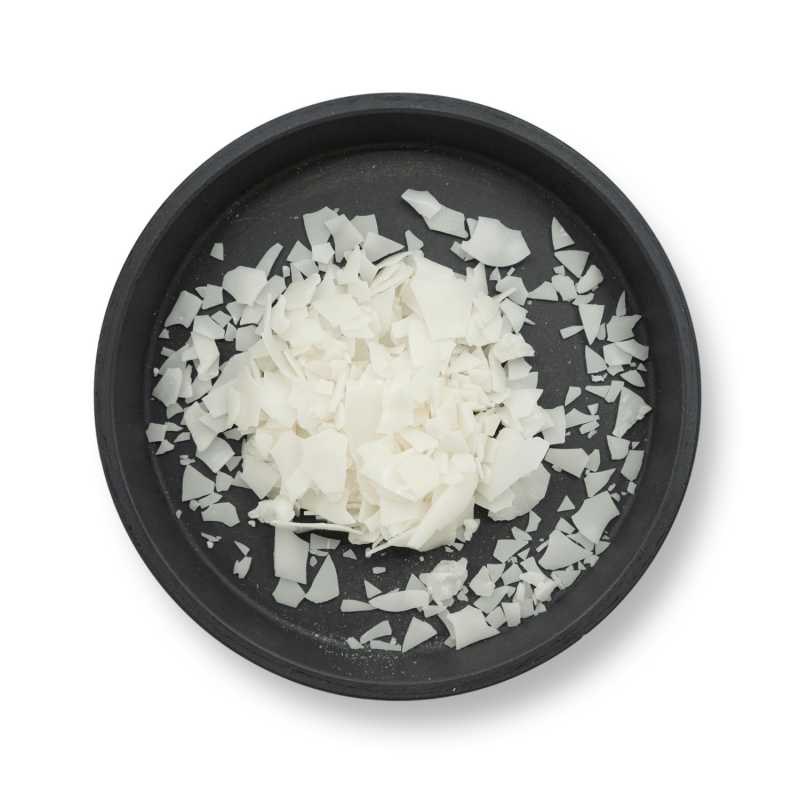
Almond wax
This wax is an excellent vegan substitute for beeswax. As it is much softer than beeswax, it is suitable for creating smooth, soft balms enriched with the nutrients of almond oil.
The wax is non-irritating and therefore suitable for sensitive skin care products, as well as for mature and problematic skin. You can use it in soaps, emulsions, creams, balms or hair care products.
You can also use it in container candles (if blended with harder waxes, you can make a classic candle as well).
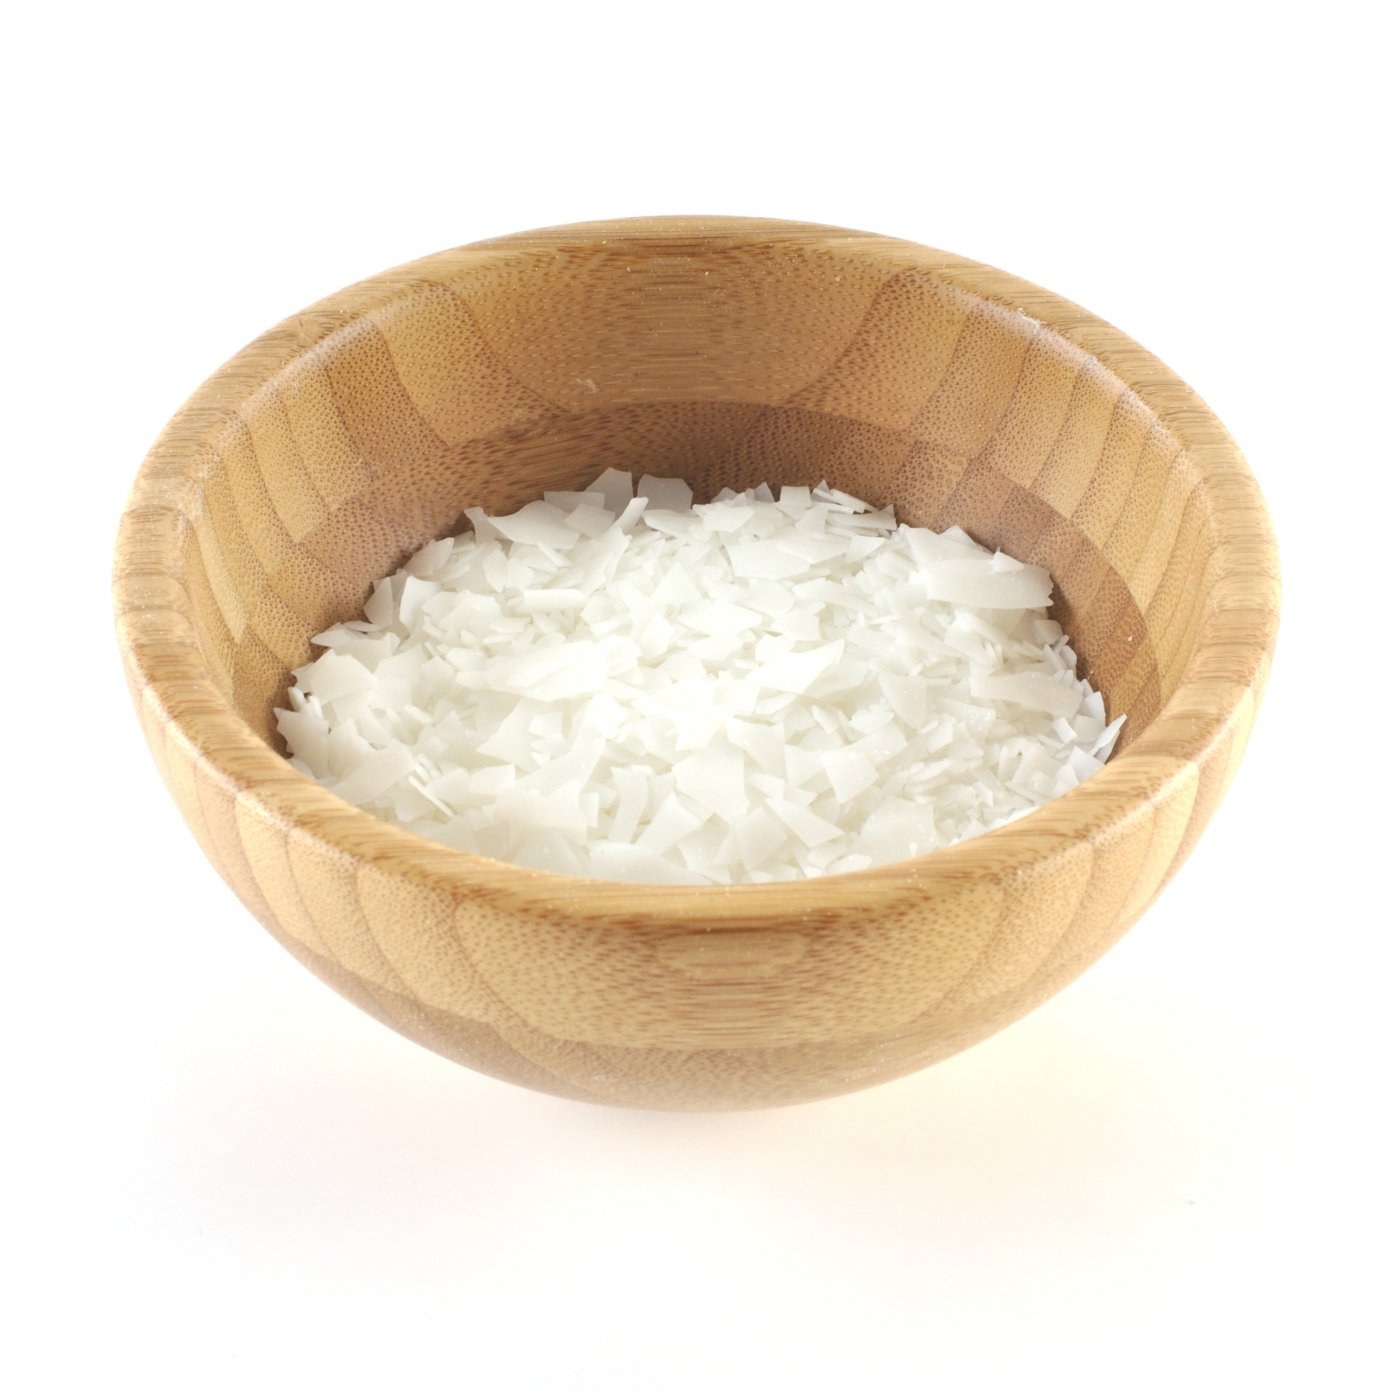
Coconut wax
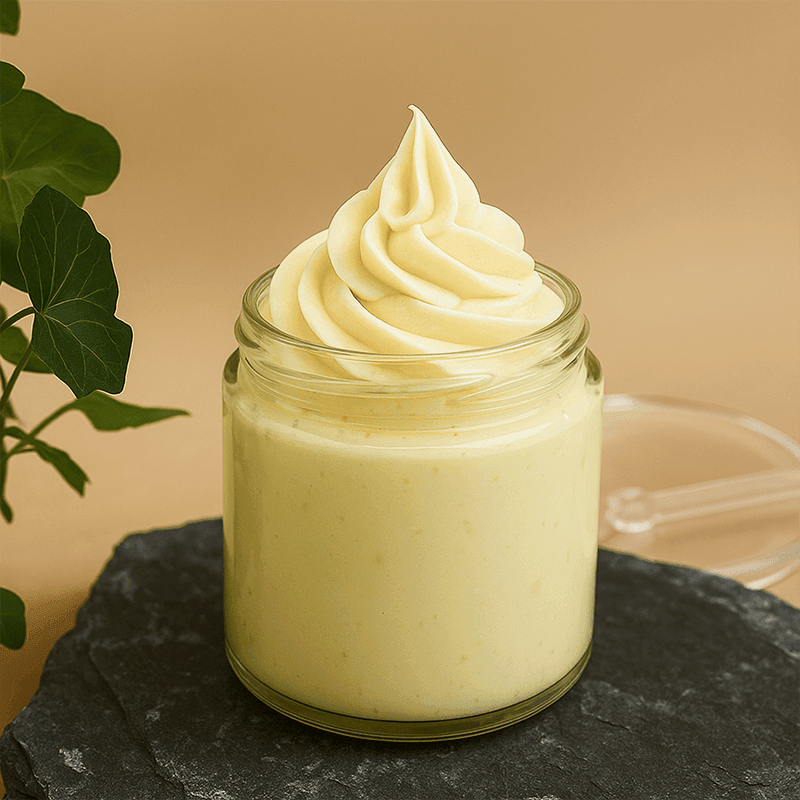
In our case, a blend of coconut and soy wax is an excellent choice for candle making. As it has a relatively low melting point, it is suitable for making candles in containers.
It has excellent adhesion to glass, a smooth surface and does not produce frosting effects. It absorbs dyes excellently and creates beautiful colour finishes for your products.
Tip: if you would like to make harder candles, you need to blend in carnauba or candelilla wax.
Rapeseed wax
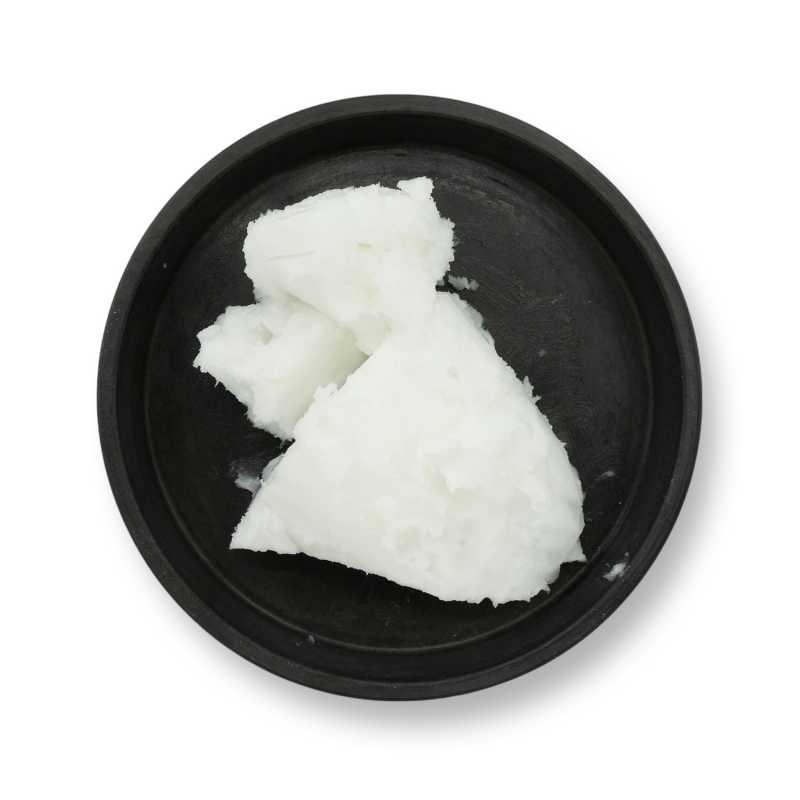
And finally, our freshest new product. Rapeseed oil is gradually becoming more and more popular for candle making, because it is produced in Europe and is more environmentally friendly than its soy counterpart from the USA.
It is soft, has the consistency of butter and, besides candles, can be used as a hair conditioner. It also softens the skin, improves its suppleness and elasticity, and is suitable for lip balms too.
On offer is pure rapeseed wax suitable for free-standing candles, as well as a blend of rapeseed and coconut oil, which is specially blended for making candles in containers and scented waxes for aroma lamps and is firmer than the pure version.
Soy waxes and their characteristics
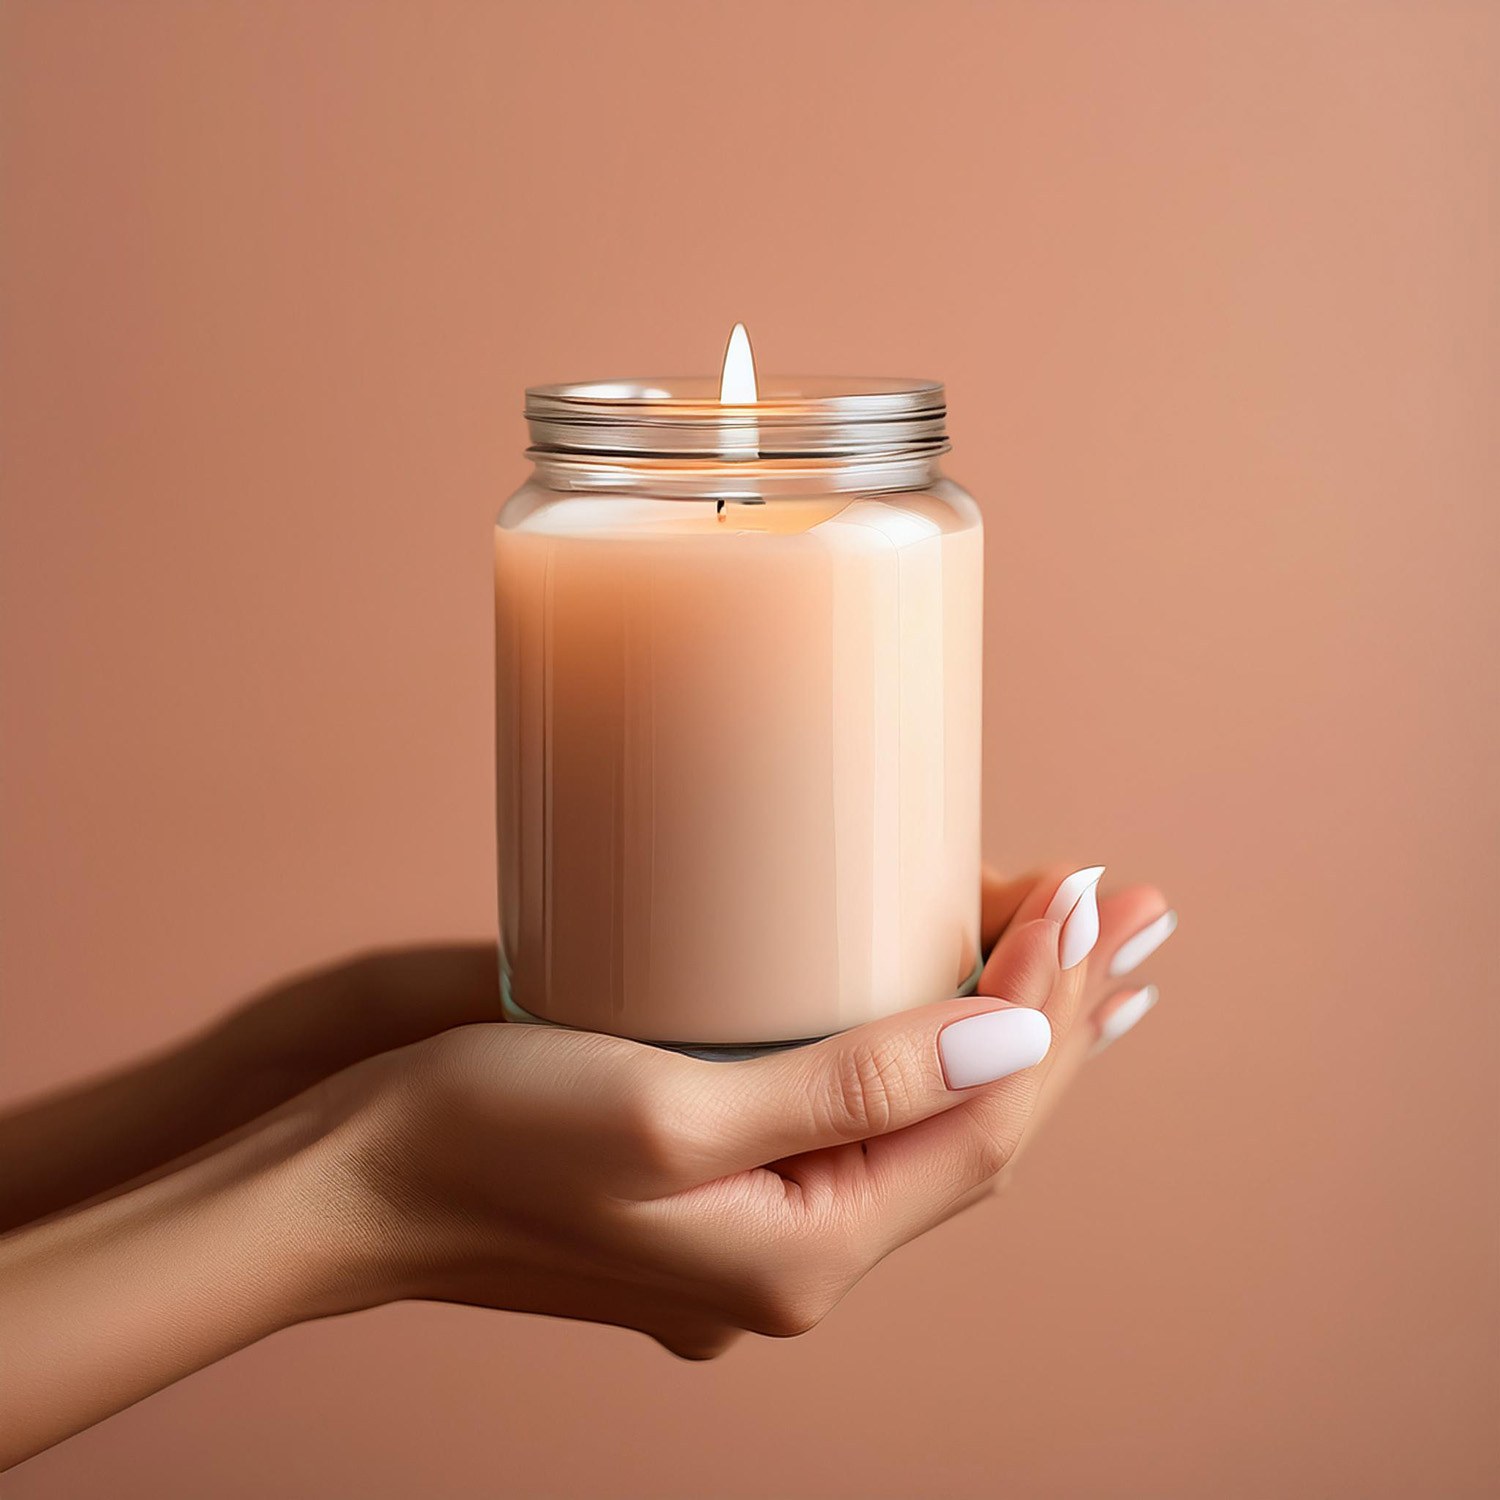
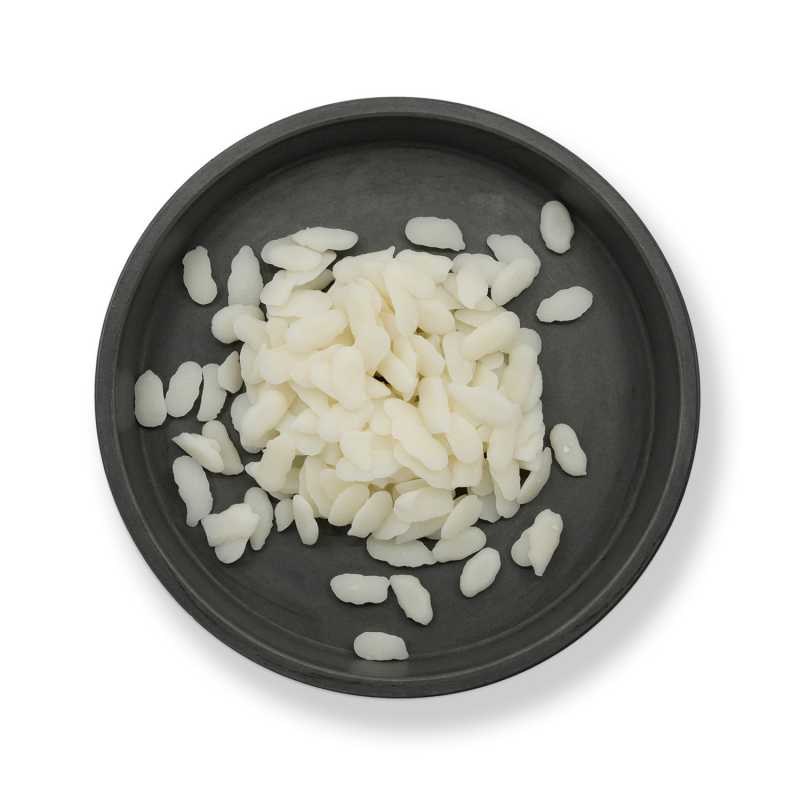
Soy wax also belongs among the hydrogenated waxes and is currently the most popular option for making vegan candles. There are several varieties on offer. Many of you, when buying soy waxes, ask which is the best one and which to use.
Golden Wax 464
It is a pure soy wax from AAK. It has good adhesion to containers, creates an exceptional fragrance with both fragrance and essential oils, and gives your candles a soft creamy white look.
NatureWax C-3
NatureWax C-3 is essentially an alternative to the pure soy wax Golden Wax 464, but from a different supplier (Cargill). Its properties are almost identical. Still, they do differ a little, and you often only see the difference between them when you actually use them.
If you are using a larger quantity for production and not just for your own use, it is a good idea to test both types so that you find out which variant suits your processes and products best.
It is recommended for classic container candles (i.e. candle holders) and as a softener for pillar candles.
NatureWax C-6
This is already a blend of soy and coconut wax, which is suitable for making container candles (for candle holders). It has excellent adhesion to glass and resistance to the formation of so-called fat blooms (meaning that its creamy consistency is maintained and unwanted frosting does not form).
EcoSoya CB-Advanced
This is also a blend of soy and coconut wax; it has excellent adhesion to glass, a smooth surface and resists frosting. Colours blend into it very well, which guarantees a vibrant colour effect in the finished products.
It is recommended for classic container candles (i.e. candle holders), but also for so-called candle melts – refills for wax warmers.
We do not quite have the answer to the question of which wax is the best, but we believe that this information will help you get your bearings and judge correctly which wax will be the most suitable for your creations.
Properties of a soy candle
What is the difference between a soy candle and paraffin? In our opinion it is significant — judge for yourself:
- It is environmentally friendly
Soy wax is of plant origin and no toxins are released into the air as the candle burns.
- It scents a room faster
Thanks to its lower melting point, it can scent a room faster.
- Longer burning time
It burns evenly and slowly, and its burning time is 50% longer than that of classic paraffin candles.
- It is easy to wash
Ordinary soap and water are all you need to wash the glass candle holder, so you can use the holder again and again.
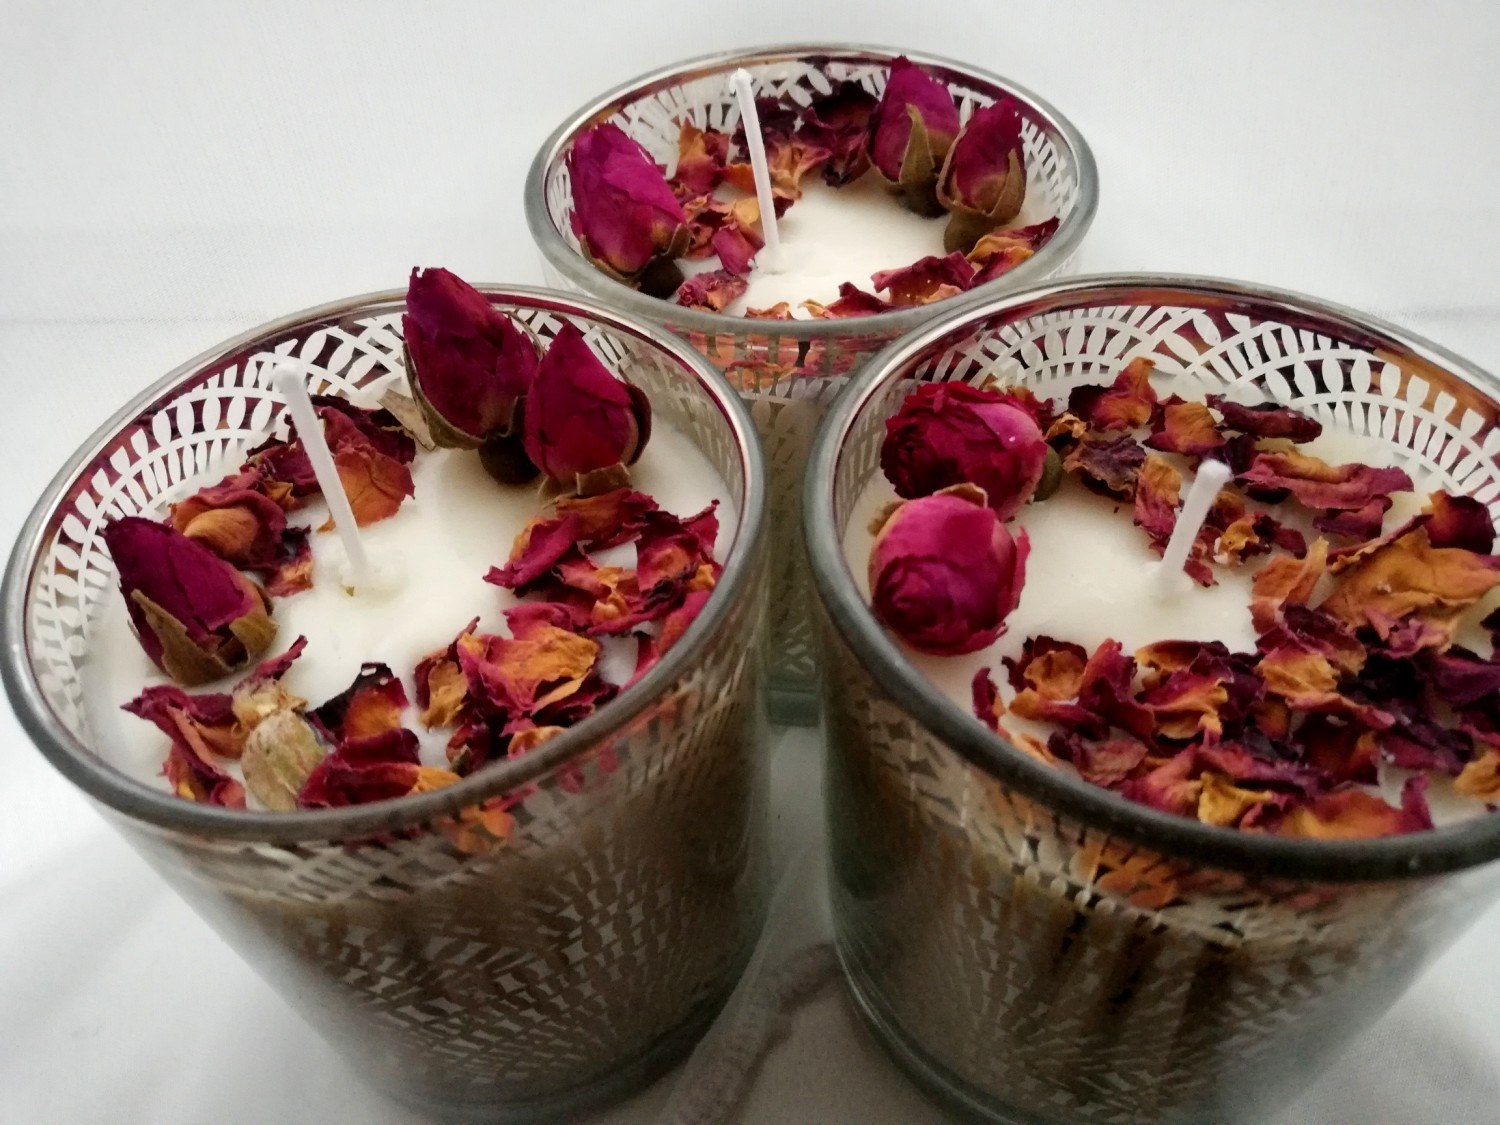
What to consider before you start?
Choosing your raw materials
Before you start work, it is important to study the essential facts about the raw materials you have chosen:
- the temperature to which the wax needs to be heated
- the temperature at which the wax is recommended to be poured
- the percentage of essential oil and dye to use, so that you can measure out and prepare the correct quantities in advance
Choosing a container
The most suitable shape of candle container is a jar or a cylinder.
Tip: under no circumstances use a container whose neck is significantly narrower than its base. Because of uneven air circulation and evaporation, your candle will not ‘work’ properly.
Choosing a wick
It is very important to choose the wick according to the shape of the container — if you have a tall but narrow container, you need to choose a wick that is long enough but thin, otherwise it will create a disproportionately large flame and the candle will not burn properly.
If, on the other hand, your container is low but has a larger surface area, you need to choose a wick that is thick and strong enough for the flame to heat the whole container, otherwise you will get a so-called tunnel.
Tip: the wick must be at least 1–2 cm longer than the level of the wax.
Working with wax
The wax needs to be heated and melted in a water bath, stirring regularly, and brought to the temperature recommended in the instructions for the given wax — we used Golden 464, which has a temperature of approximately 75 °C. At the same time, keep to the percentages for essential oils as well as for dyes.
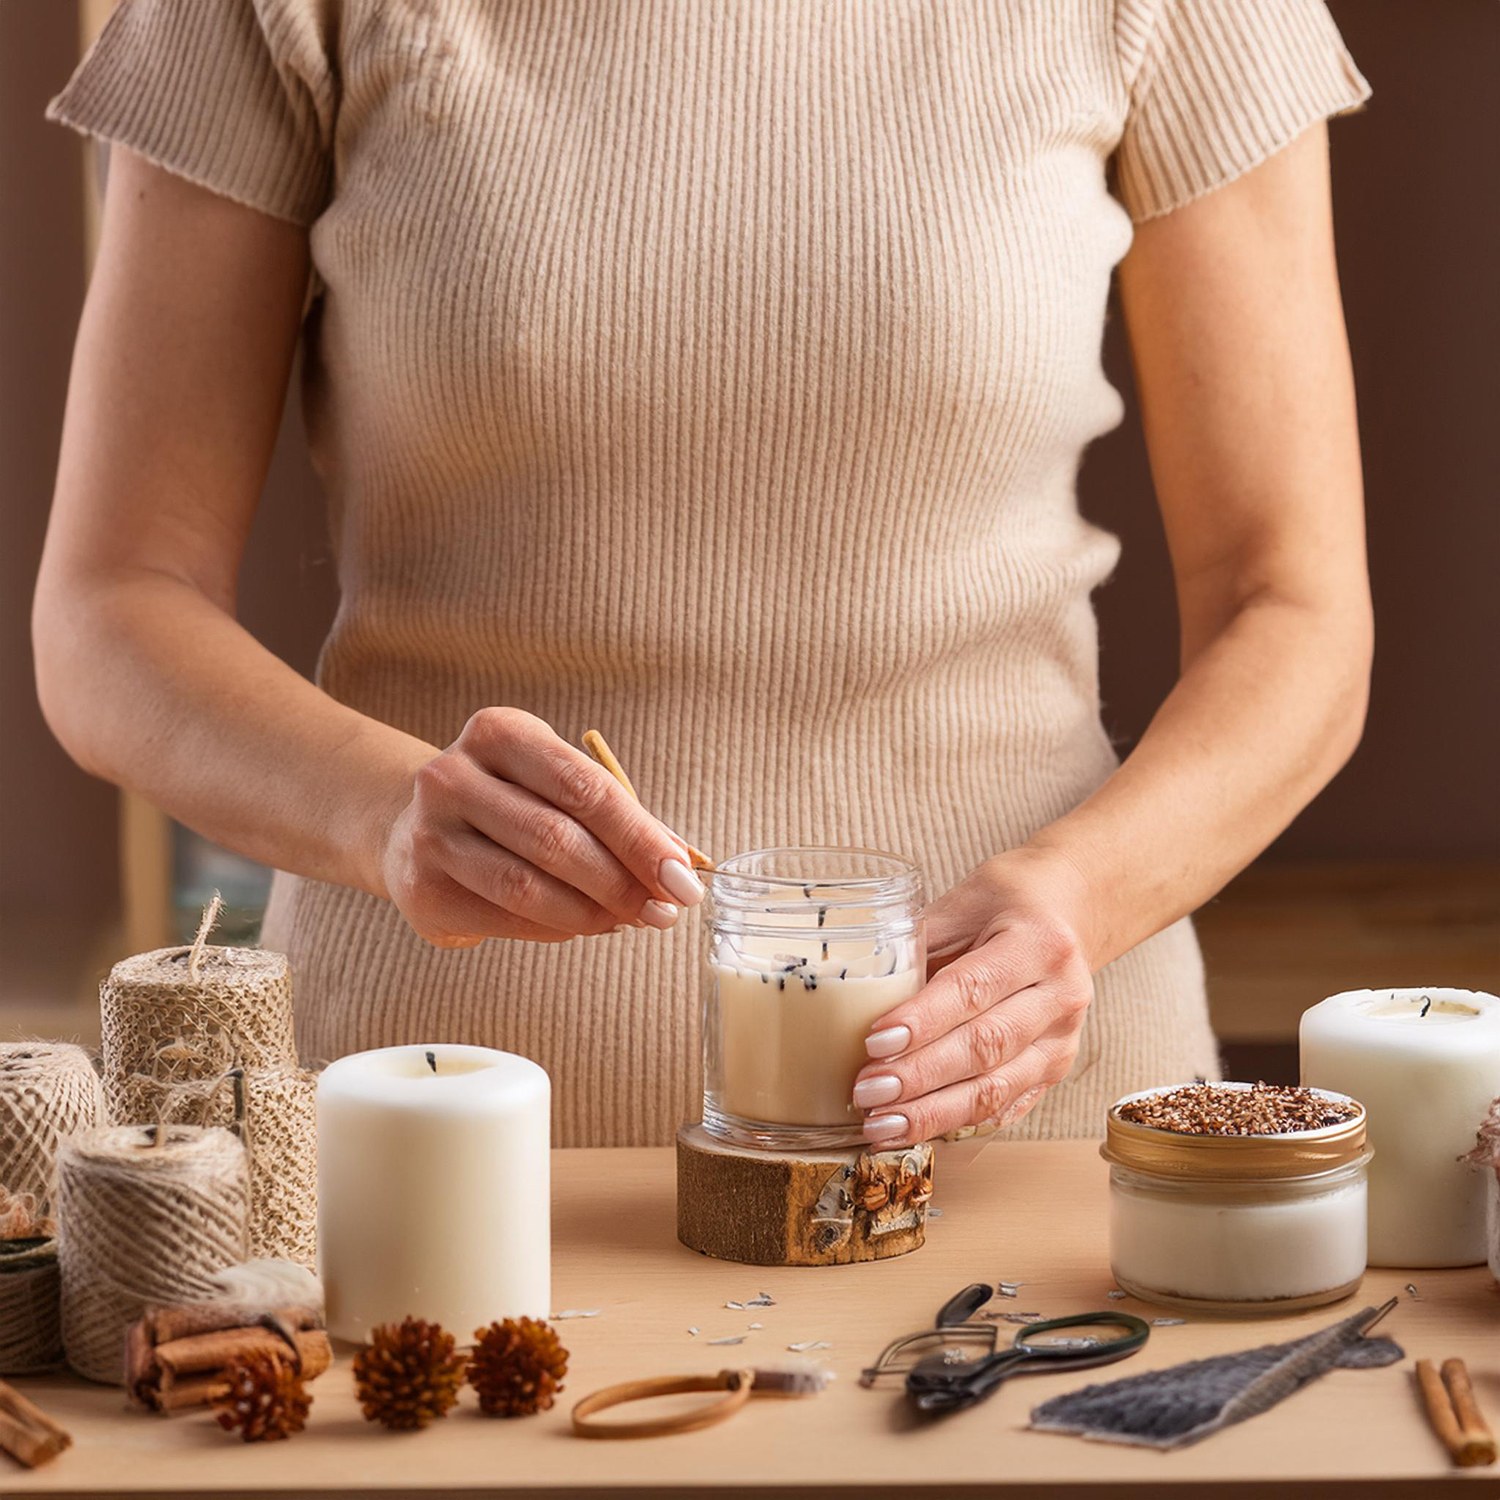
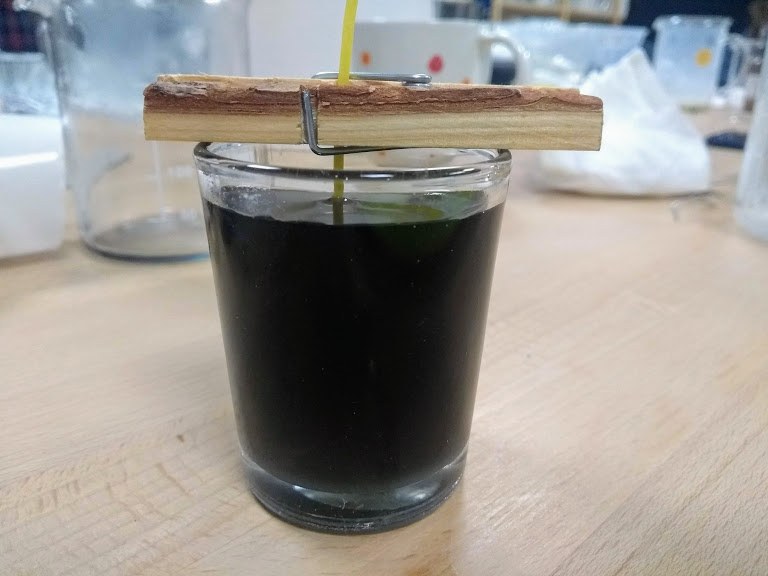
Before pouring, the wick needs to be secured so that it does not ‘wander’ while you pour and while the wax sets (we used ordinary wooden pegs, but you can also tape the wicks down on both sides or use something like pencils as barriers).
A simple step-by-step procedure
- Heat the wax in a water bath
In a water bath, heat the wax to the recommended temperature and let it drop to the pouring temperature.
- Stick the wick in place
Stick the wick into the candle container with glue.
- Add fragrance, colour or glitter
If you want to add fragrance (a fragrance or essential oil), colour or glitter to the candle, as a rule the wax temperature should be below 60 °C.
Every wax has a different recommended percentage of fragrance; they range from 8 to 10%. With colour and glitter (all our eco glitters are suitable for soy candles), it is up to the effect you are after. You will find basic candle colours in our range.
- Pour the wax and fix the wick
When pouring the wax into the container, it is important to hold the wick upright even though it is glued in place, so that it is properly fixed.
- Let the candle harden
It is a good idea to leave the candle to stand so that it hardens sufficiently.
at least 48 hours - First lighting: let it burn until the whole surface has melted
Since larger candles can burn for several dozen hours, the first time you burn the candle you need to let it burn long enough for it to heat through across its whole surface.
Otherwise only a tunnel will burn out and the candle’s life will be considerably shortened, leaving a large amount of unused wax around the edges of the container.
An extra tip: scented waxes for wax warmers
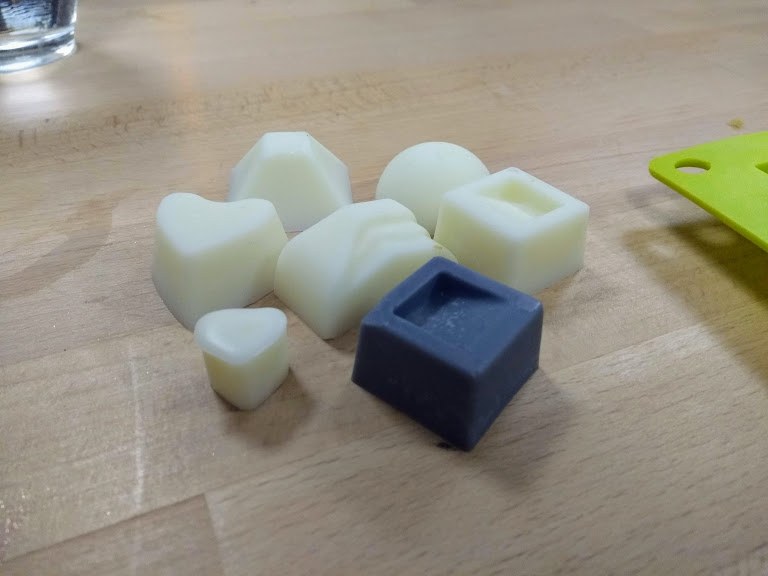
There is one more interesting way of burning wax: so-called wax warmers. Here the preparation is completely simple. The procedure is identical to making the candles themselves, except that all you need is a silicone mould with smaller shapes into which you pour the wax.
Once it has set, you place a piece in the upper part of the warmer and light a candle in the lower part; this melts the soy piece and, thanks to the heat, a pleasant scent spreads through the room. This form is used mainly to scent a room, but the light in the warmer itself also has a pleasant and calming effect.
The most common mistakes in candle making and how to solve them
If you have already tried making your own soy candle at home and not everything turned out as you had imagined, this section is for you. Do not despair over your failed creation. In the following lines we list a few problems that can occur when making a candle and explain how to solve them.
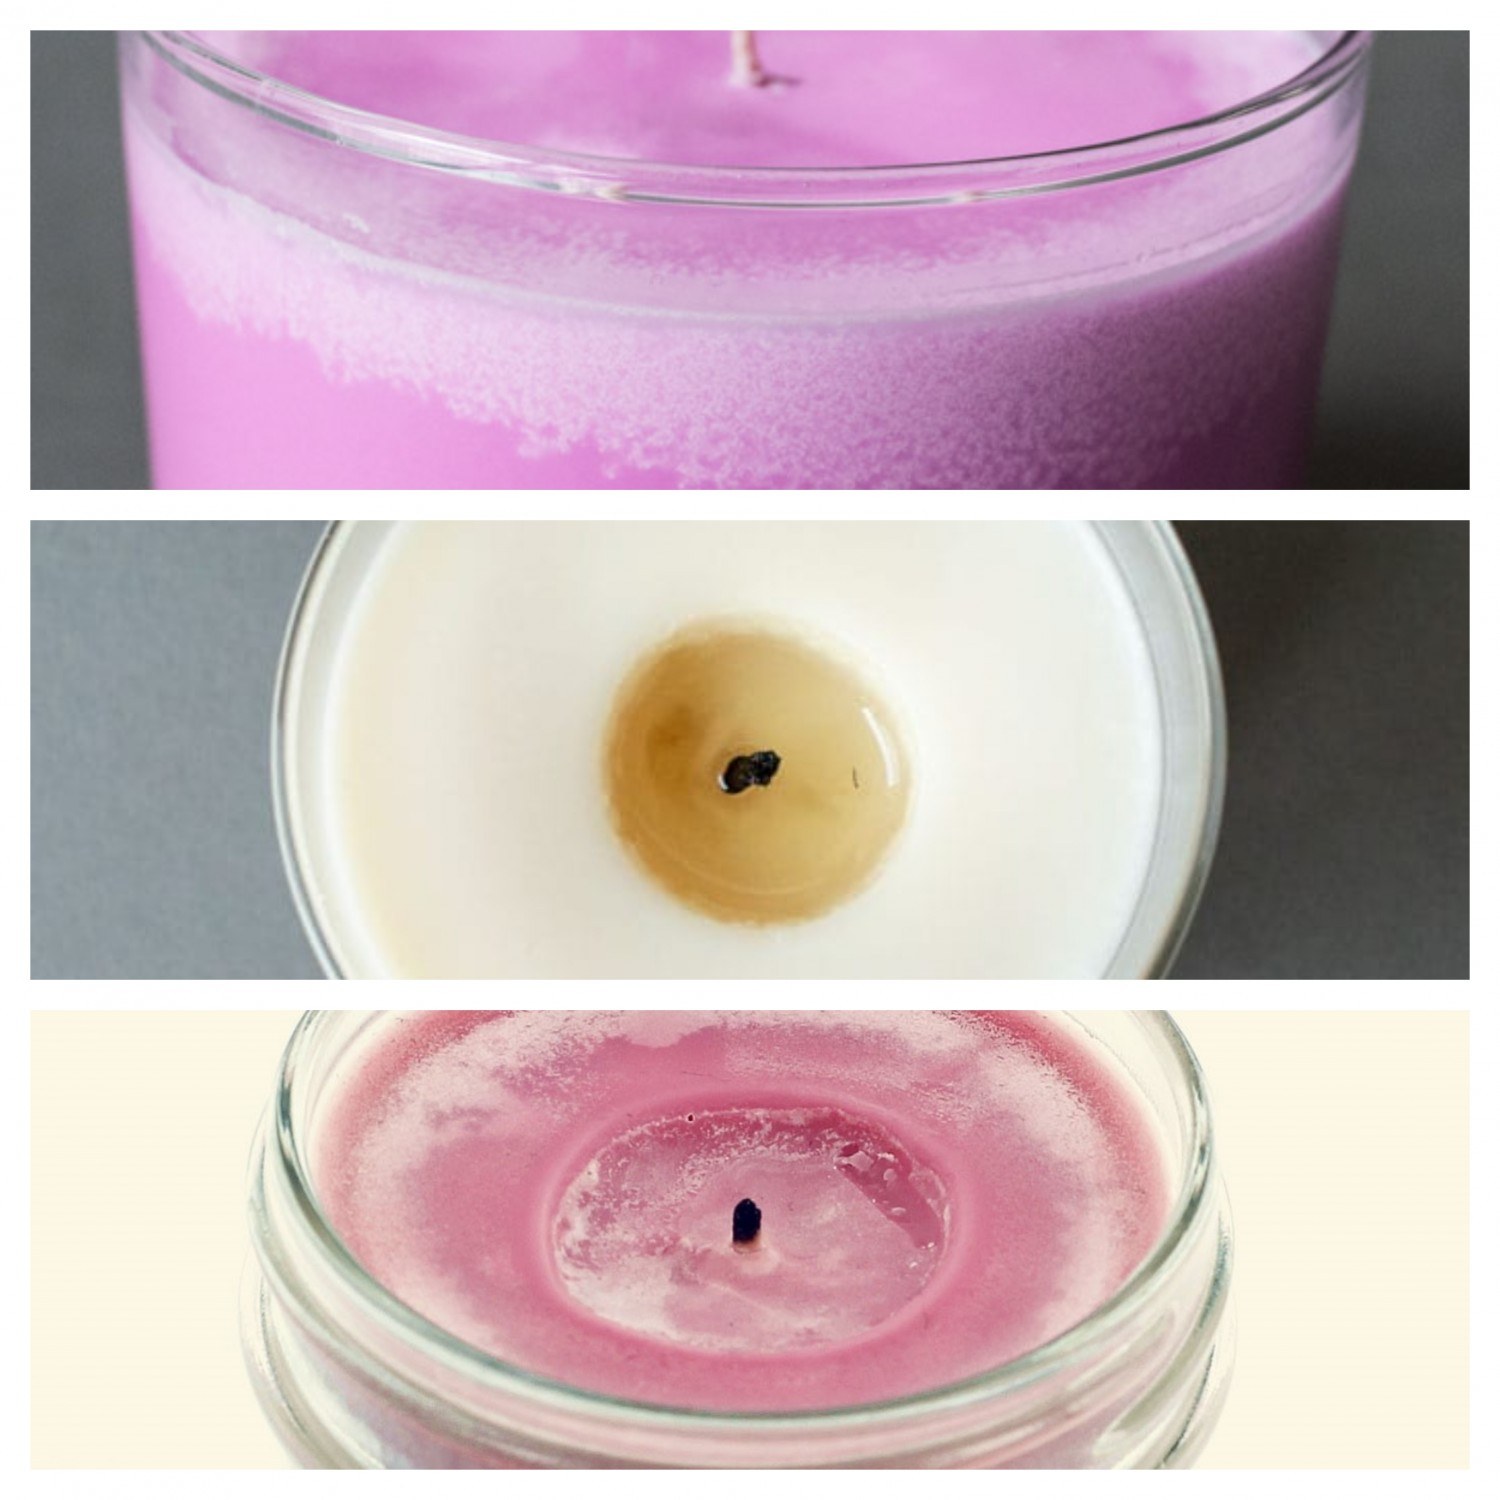
Why does the candle have wet spots and cracks in the wax?
This undesirable effect can be caused by the wax cooling too quickly. At the same time, the containers into which you pour the candle should be at a higher temperature than room temperature.
In this case we recommend keeping to the recommended temperatures when working with wax and getting yourself a thermometer for the purpose.
Why do so-called flowers and frost form on the surface of the candle?
This problem can also be related to the type of fragrance, but more often frosting effects are caused by pouring the candle at the wrong temperature, or by the container into which you pour the candle being too cold.
If you are having a problem with frost patterns, try preheating the container the next time you make a candle and check the pouring temperature for the wax in question.
Why does the candle create a tunnel?
When the candle burns, are you left with a lot of unmelted wax around the edge of the candle holder, creating a so-called tunnel? You have obviously used too weak a wick. If you have no way of using wicks for a smaller container, you can try placing 2 or 3 such wicks in the candle the next time you make one.
In any case, a tunnel is caused only by an insufficient flame due to too small a wick.
Why does dark soot form on the candle?
Do you get unsightly dark soot on the beautiful creamy surface when the candle burns? You obviously have the opposite problem — you have used too strong a wick, which burns disproportionately strongly and, besides the soot, can also put your home at risk.
What should I do if the wick does not burn properly when I relight the candle?
If you lit your new candle and everything went smoothly, but on relighting it the wick (cotton or wooden) did not burn as it should, all you need to do is trim or cut the wick back before you light it again.
Important — too strong a wick, a large flame: this case is dangerous and, if the flame is too large, we do not recommend using the candle. Even if you decide to, do not let a candle lit in this way out of your sight.
Finally: we would like to point out that every single candle combination (wax, dye, fragrance, wick) is unique, and so you should try things out in smaller quantities first.
If your candle does not burn as it should, try changing only one component the next time you make one. That way you will arrive at a solution more easily.
Have you tried our waxes yet? Do you use them in your products? Share your creations or an interesting recipe with us — email us at [email protected].